This document assumes that you have an Internet connection already present.
Please follow the instructions below to configure Mac OS X 10.3 or 10.4 to connect to UBC's VPN service.
Establishing a VPN Connection
- From your Applications folder, open Internet Connect.
- When the program opens, select New VPN Connection Window from the File menu.
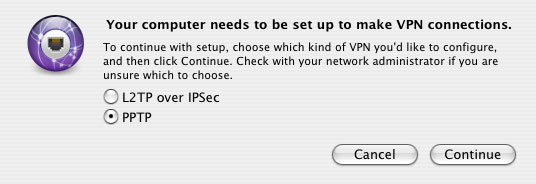
- A pop-up window will appear asking you to choose which kind of VPN protocol you would like configure. Select PPTP and click Continue.
- You will now be presented with a VPN Connection window. Leave Configuration set to Other.
- For Server address:
- If you are associated with the UBC-Vancouver campus, type: vpn.ubc.ca
- If you are associated with the UBC-Okanagan campus, type: vpn.ok.ubc.ca
- For Account Name and Password, enter your Campus-wide Login (CWL) account information. If you do not have a CWL account, you can sign up for one.
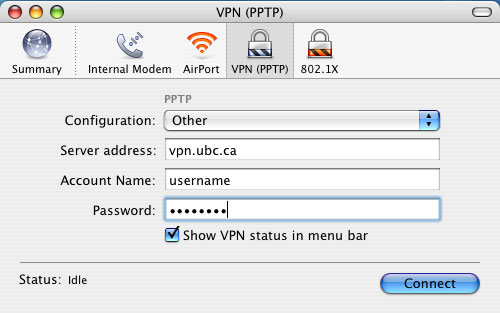
- Click on Connect. It may take a few moments to connect to the VPN server. Please be patient.
- The Status line at the bottom of the VPN Connection window will let you know if you successfully connected.
- When you are ready to disconnect, open Internet Connect and from the VPN Connection window, click Disconnect.
