Note: Make sure that you have upgraded your "Dial Up Networking" to V 1.4 before you proceed. Microsoft VPN needs components in DUN 1.4 even if you do not use dial-up. Please refer to http://www.microsoft.com .
Note: If you're unable to connect using the following instructions, please try the Nortel Contivity client instead.
Configuring the VPN Client on Windows 98:
- Go to your Desktop.
- Under My Computer, select Dialup Networking.
If you don't have Dialup Networking, you need to install it. To install dialup networking:
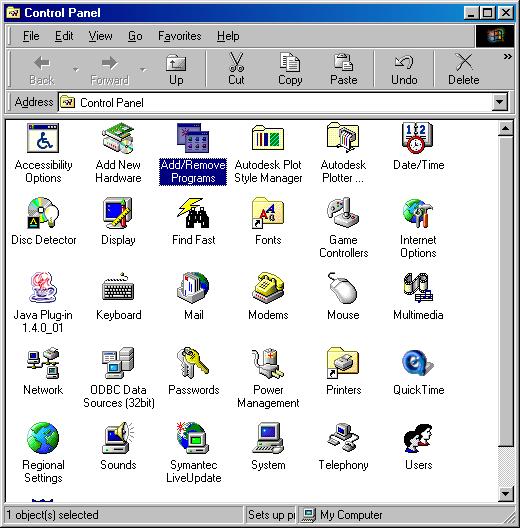
- Select Start -> Settings -> Control Panel.
- Double-click on Add/Remove Programs.
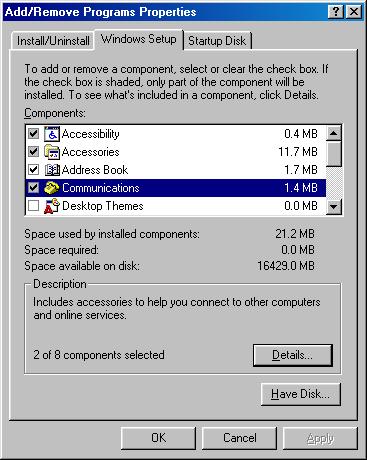
- In the Add/Remove Programs Properties dialog box:
- Select the Windows Setup tab.
- Highlight Communications (as shown below).
- Select the Details button.
- In the Communications dialog box, make sure Dial-Up Networking has a checkmark beside it.
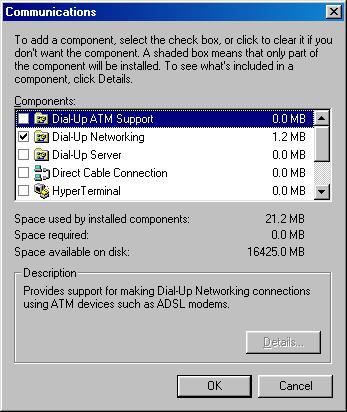
- Click OK.
-
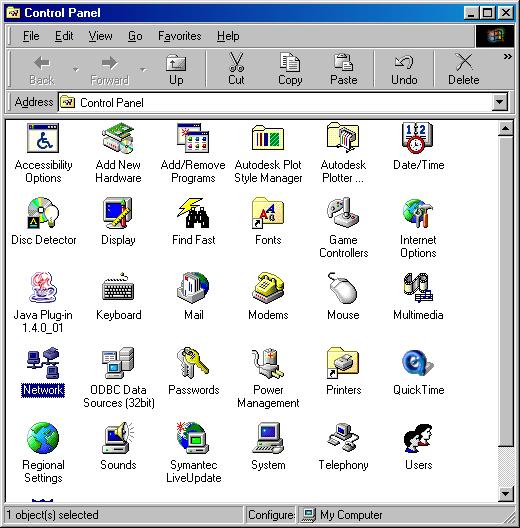
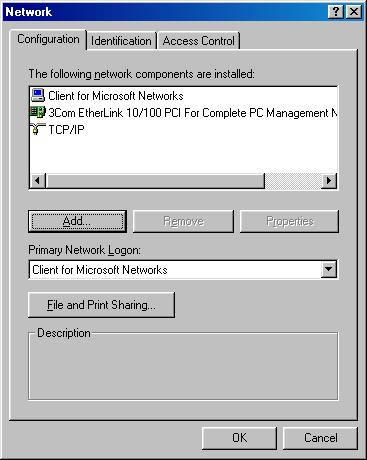
You also need to set up your VPN adapter. From the Desktop, select Start -> Settings -> Control Panel.
- Double-click on Network.
- In the Network dialog box, click the Add button.
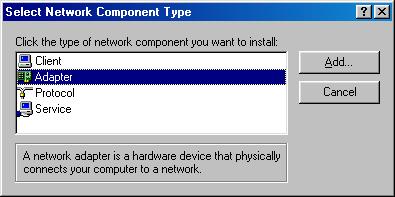
- In the Select Network Component Type dialog box:
- Highlight Adapter (shown below).
- Click Add.
- In the Select Network adapters dialog box:
- Select Microsoft, and Microsoft Virtual Private Networking Adapter (you may need your Windows 98 disk.)
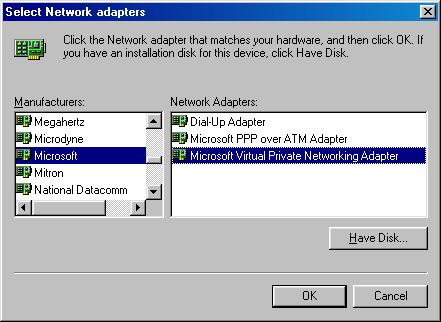
- Click on OK twice, and after a reboot, you should be ready to go.
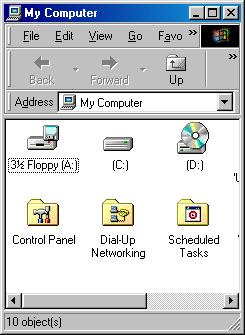
- Once your VPN adapter is installed:
- Go into My Computer.
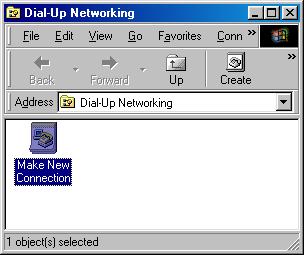
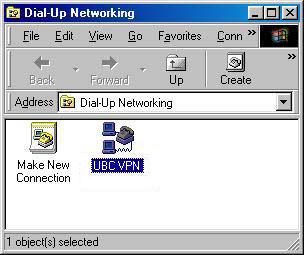
- Double-click the Dial-Up Networking folder.

- You are now ready to make a new connection profile. Double-click Make New Connection.
- You will access the Make New Connection wizard.
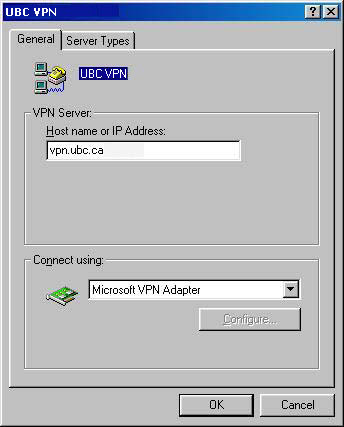
- Type in the name of the server and select the VPN adapter. (e.g. UBC VPN)
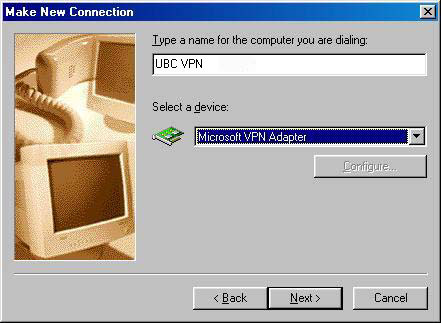
- Click Next.
- Under Host name or IP Address:
- If you are associated with the UBC-Vancouver campus, type: vpn.ubc.ca
- If you are associated with the UBC-Okanagan campus, type: vpn.ok.ubc.ca
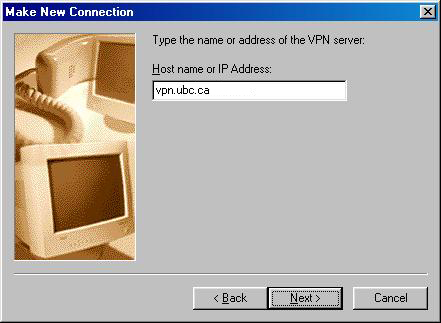
- Click Next.
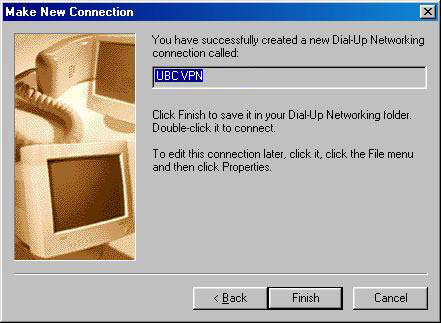
- Click Finish.
- Type in the name of the server and select the VPN adapter. (e.g. UBC VPN)
- The UBC VPN profile will now be in the Dial-Up Networking folder.
- Right click on it and select Properties.
- Select the Server Types tab.
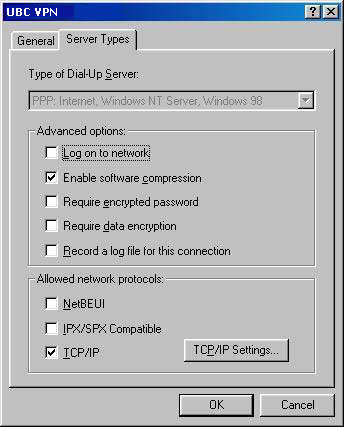
- Turn off (deselect) Log on to network, NetBeui, and IPX/SPX.
- Click OK.
- Right click on it and select Properties.
- You are now ready to connect to UBC VPN.
