UBC offers the ubcprivate wireless network that can be accessed by WPA/WPA2 Compliant Cards. Please follow the procedure listed below to enable WPA/WPA2 for your wireless adapter.
Requirements
- Windows XP SP2 (Service Pack 2)
-
- You can download these by using the WindowsUpdate tool or visiting Windows Update .
- We suggest that you install the WPA2 patch available here.
- A wireless card with drivers that support WPA/WPA2 and PEAP (Protected Extensible Authentication Protocol). Please see your manufacturer's website for information as well as the newest updates, drivers, and firmware regarding your wireless card.
- This document will assume that you are using the standard Windows XP wireless network configuration utility. If you are using the computer or wireless card manufacturer’s utility, please consult the appropriate documentation for your hardware.
Enabling WPA Authentication and Security
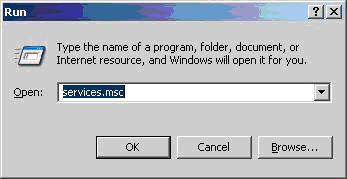
- Click your Start button at the bottom, then click Run . Type services.msc and click OK.
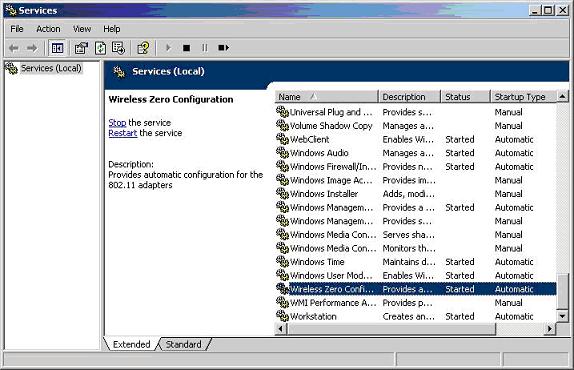
- Scroll to the bottom of the list. Double click on the Wireless Zero Configuration service and ensure that it is set to Automatic and Started . Click OK to continue.
- Click the Start button at the bottom, then select Control Panel , then Network Connections and right click on your wireless network card and select Properties . Click on the Wireless Networks tab.
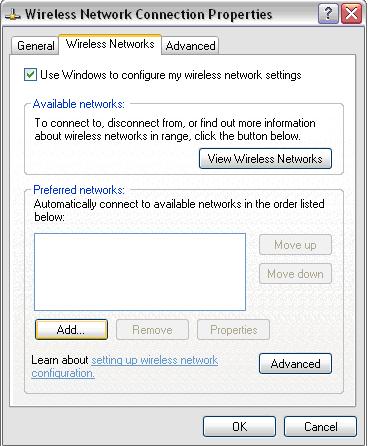
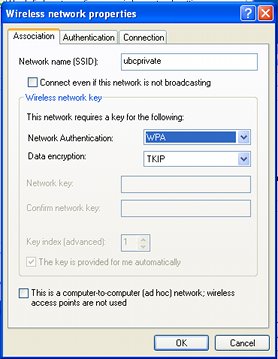
- Click Add at the bottom. For Network Name (SSID) enter ubcprivate.
If your wireless card supports WPA2, then for Network Authentication select WPA2 (note: WPA2 and WPA2-PSK are not equivalent and selecting WPA2-PSK will not allow the connection to operate properly). For Data Encryption select AES . Make sure that your settings match the picture.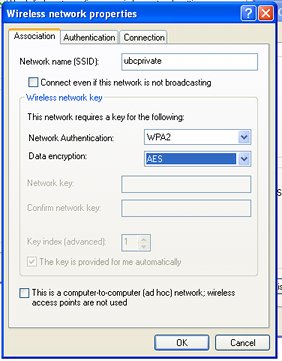
If WPA2 is not an option, you can instead select WPA to setup the network connection for WPA compliance (note: WPA and WPA-PSK are not equivalent and selecting WPA-PSK will not allow the connection to operate properly). For Data Encryption select TKIP . Make sure that your settings match the picture below
- Select the Authentication tab. For EAP Type select Protected EAP (PEAP) , then uncheck and turn off Authenticate as computer when computer information is available.
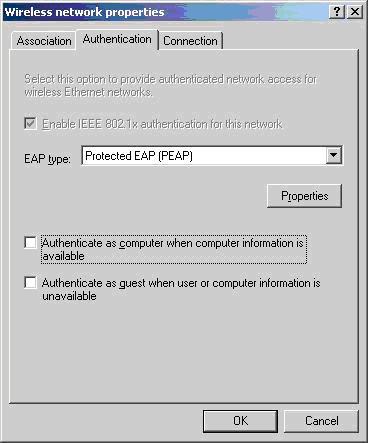
- Click the Properties button.
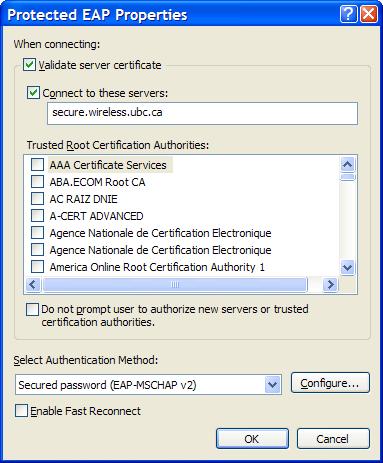
Turn on Connect to these servers: and enter secure.wireless.ubc.ca
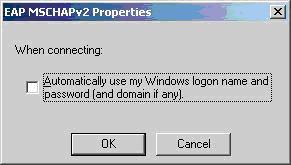
At the bottom, make sure that the Select Authentication Method is set to Secured Password (EAP-MSCHAP v2) then click the Configure button at the bottom. Uncheck and turn off Automatically use my Windows login name and password.
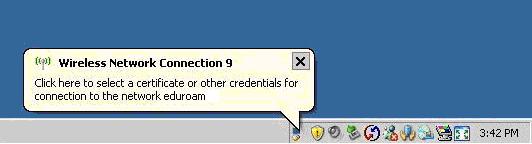
- Click OK buttons and close any Windows to exit the configuration. In a few seconds, the network card will contact the eduroam network. Click the bubble at the bottom right hand corner to login.
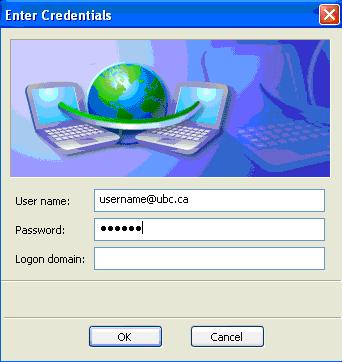
- Enter your Campus Wide Login (CWL) login name as username.departmentid and the appropriate password. Then click OK .
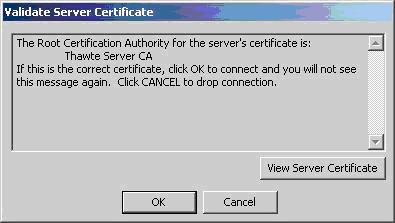
- The wireless card will authenticate with the network and send a security certificate to your computer. Click the bubble at the bottom right hand corner and then click OK to accept.

- After a few moments, you will then be connected to the ubcprivate network.
