Follow the instructions below to configure Windows XP or Vista to connect to UBC's myVPN service .The myVPN services uses the Cisco AnyConnect VPN client. If you have already gone through the setup, see the Reconnecting to myVPN section.
To go directly to the myVPN website, go to https://myvpn.ubc.ca
Important Notes:
- This document assumes that you have an Internet connection already present.
- Also, please ensure you have Sun Java installed (http://java.com). You can confirm if you have Sun Java installed by going to the java.com website.
- If you are using any network profile switching utilities (e.g. Toshiba ConfigFree, Lenovo Access Connections, etc), ensure they are set to allow multiple network connections to be active at the same time. Otherwise, the network profile switching utility may disconnect the underlying network connection that myVPN will be using. You can also try disabling the second party network managers and use the default Windows network managers instead.
Web-based AnyConnect VPN Client Setup
- If you are running Windows Vista or above and are using Internet Explorer as your browser, please make sure to run your Internet Explorer as Administrator when you use myVPN for the first time.
To do so, click the Start button -> All Programs -> right click Internet Explorer -> Run as Administrator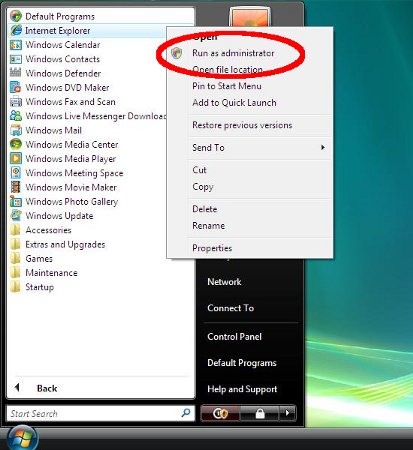
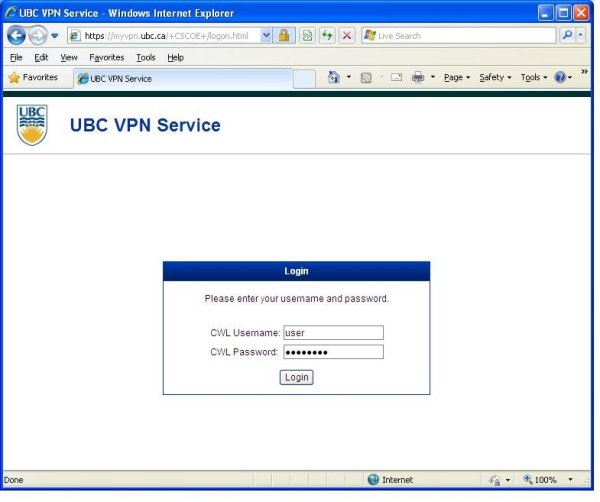
- Open your browser (e.g. Internet Explorer or Firefox), if you have not already done so, and go to the website https://myvpn.ubc.ca
- Enter your CWL username and password and click Login.
Note: If you are a member of a specialized departmental group, please append your group id after the CWL username (e.g. cwluser.departmentgroup). If you are not sure whether you need a departmental group, just enter your regular CWL username.
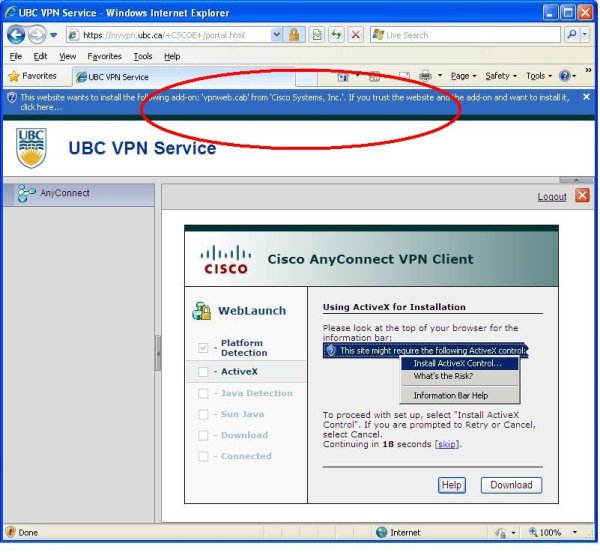
- The AnyConnect VPN Client will begin the web-based installation.
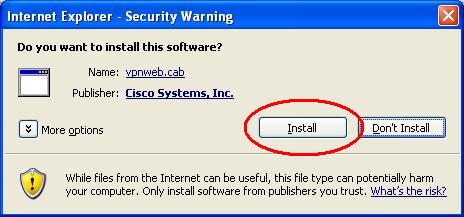
- If you are using Internet Explorer, click the yellow bar at the top to run the ActiveX based installer. Then click the Install button.
Note: if you are running Windows Vista with UAC on, you may need to add https://myvpn.ubc.ca into the Internet Explorer Trusted Sites section to allow the ActiveX version to run. If it fails, it will try to use the Java installer instead.
- If you are using Firefox or the ActiveX installer fails, click Run, if prompted, to start the Java based installer.
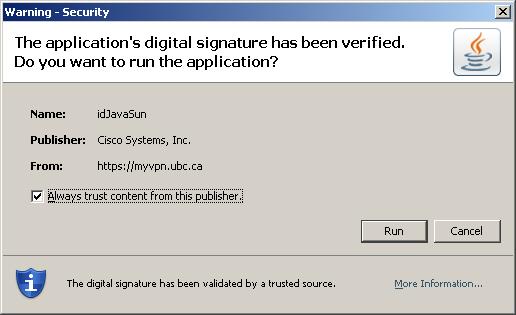
- If you are using Internet Explorer, click the yellow bar at the top to run the ActiveX based installer. Then click the Install button.
- The installation page should now say "connection established." You can now close the UBC VPN Service window in your browser.
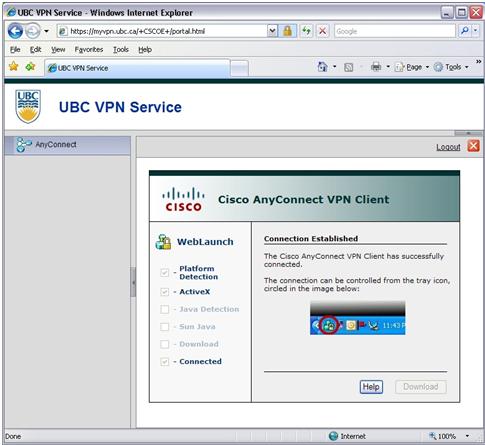
- When the installation is completed, an icon will appear your system tray. You are now successfully connected to the UBC myVPN service. Once you're done using the VPN, you can right-click on this icon to disconnect or quit.

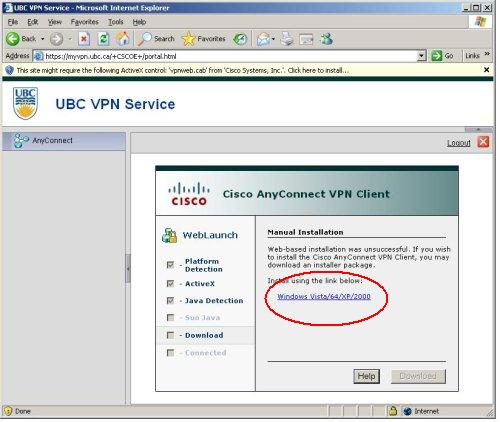
- If you see an error prompting for Manual Installation, click the Windows Vista/64/XP/2000 link and run the setup file to install the VPN client manually.
Enabling Access to Your Local (home) Network Devices:
When you enable local LAN access, it will allow your computer to access devices in IP addresses range of 192.168.0.0 to 192.168.255.255. This is useful if you want to connect to other network devices at home such as network printers. Note: If you are connecting to a specialized departmental pool, this option may be disabled depending upon your department's security settings.
- Click on the Cisco AnyConnect VPN Client icon on the menu bar.
- Select Open AnyConnect and click the Connection tab.
- Click the Preferences icon

- Turn on Enable local LAN access, then click OK.
Reconnecting to myVPN
You have 2 options in reconnecting to myVPN:
- Login to https://myvpn.ubc.ca and the Cisco AnyConnect VPN Client should automatically launch.
- If you would like connect without going to the website, use the installed client.
- Go to Start -> Programs -> Cisco -> Cisco AnyConnect VPN Client -> Cisco AnyConnect VPN Client.
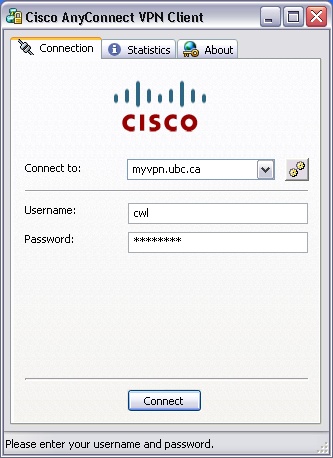
You can also copy this shortcut to your Desktop. - In Connect to, enter myvpn.ubc.ca, then click Select.
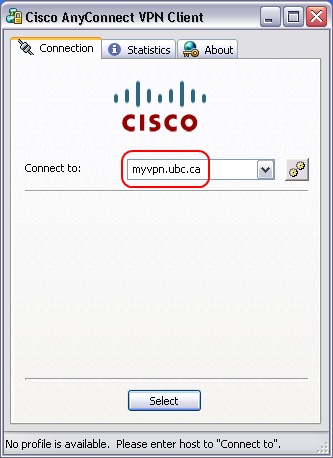
- Enter your CWL username and password and click Connect.
Note: If you are a member of a specialized departmental group, you can append your group id after the CWL username (e.g. cwluser.departmentgroup).
- Go to Start -> Programs -> Cisco -> Cisco AnyConnect VPN Client -> Cisco AnyConnect VPN Client.
