Overview
This document describes how to install the ORiNOCO wireless network card, and configure it to connect to the UBC Wireless Network. These instructions are for a PC laptop running the Microsoft Windows operating system (95/98/ME/2000/XP).
The steps in this process include:
- Installing the Client Card and Client Manager Software .
- Configuring the UBC Wireless Network Setup .
- How to Access and Login to the UBC Wireless Network .
Installing the Client Card and Client Manager Software for Windows (95/98/ME/2000/XP)
You need to first install the Client Card and Client Manager software before inserting the Wireless PC Card into your laptop.
Steps:
- Insert the Software CD-ROM that came with your Wireless PC Card into your CD-ROM drive.
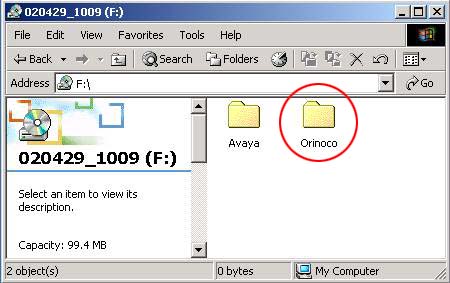
- Browse to the Orinoco folder (circled in red below) on the cd-rom and
double-click on it.
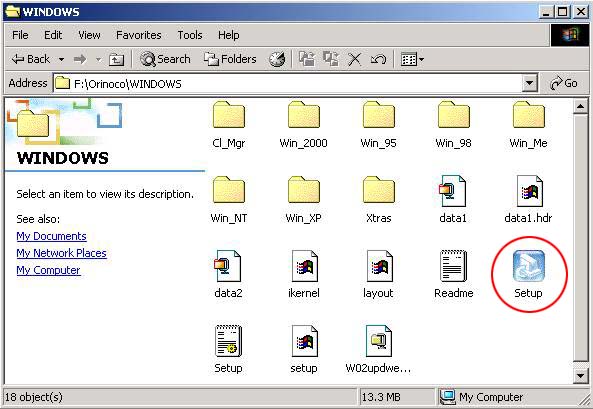
- Double-click the WINDOWS folder to open it.

- Double-click the Setup icon to start the install process.
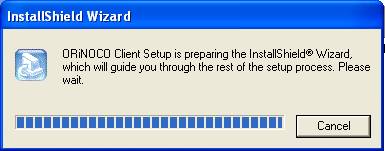
This will automatically begin the ORiNOCO Client Setup Wizard .
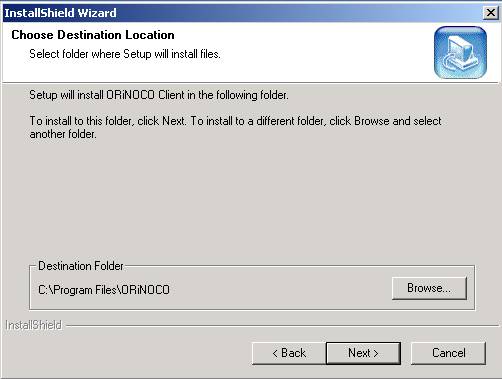
Click Next to install the ORiNOCO Client into the destination folder.
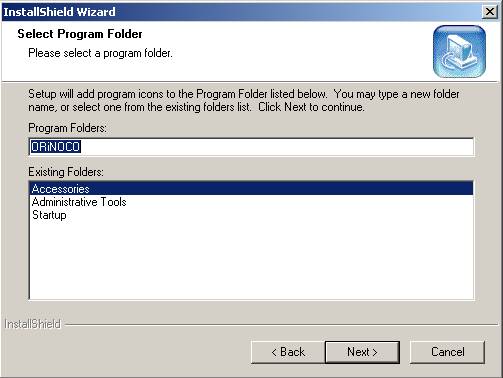
Click Next to select the default Program Folder.
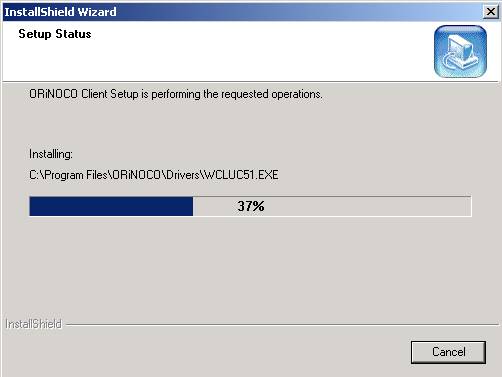
The Install Shield Wizard will automatically install the ORiNOCO Client Setup software.
The Install Shield Wizard will automatically install the ORiNOCO Client Manager software.
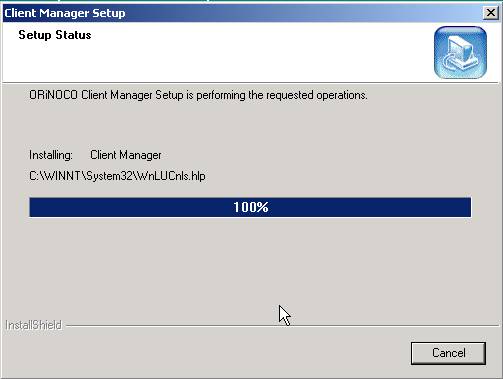
Both the Client Card and Client Manager software installation is now complete.
Configuring the UBC Wireless Network Setup for Windows 95/98/ME/2000
These instructions are for Windows 95/98/ME/2000. Windows XP instructions are listed below:
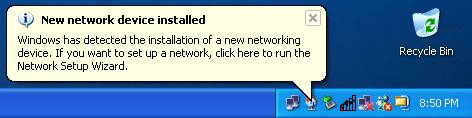
- Insert your ORiNOCO PC Card into your laptop. Windows should automatically detect your PC Card and install the drivers for it.
The Found New Hardware window will appear.
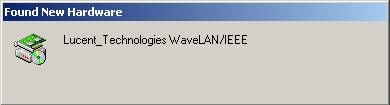
The New Hardware Found window will appear.
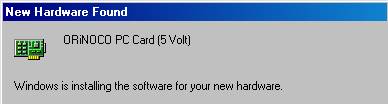
The driver installation is now complete. Continue with the remaining steps below to configure your wireless card for accessing the UBC Wireless Network.
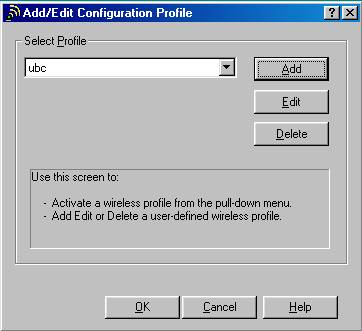
- Windows will open the ADD/Edit Configuration Profile window for your
ORiNOCO PC Card.
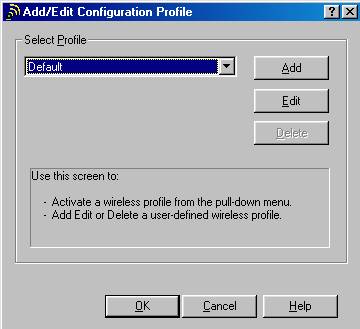
- Click Add to setup up a new wireless profile for UBC.
- The Edit Configuration window will open.
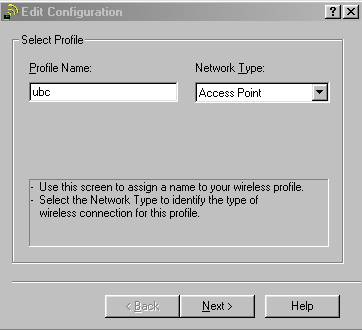
- Under the Profile Name edit box, type: ubc.
- Under the Network Type pull down menu, make sure Access Point is selected.
- Click Next to continue.
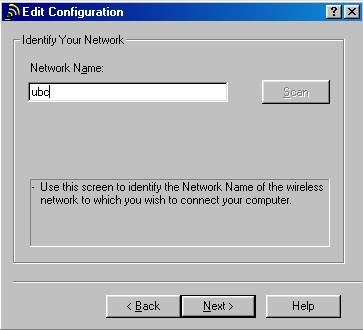
- Under the Network Name edit box, type: ubc.
- Click Next to continue.
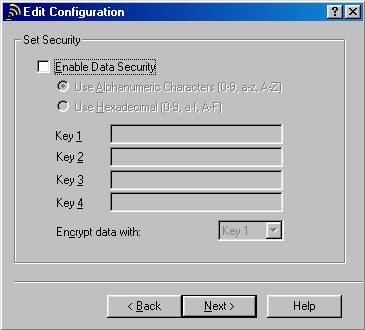
- Leave the Enable Data Security check box blank.
- Click Next to continue.
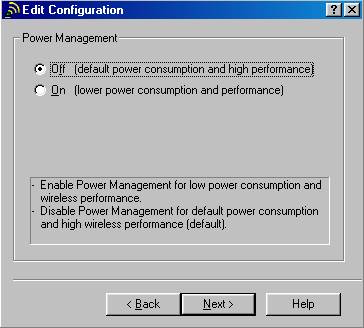
- Select the Off radio button.
- Click Next to continue.
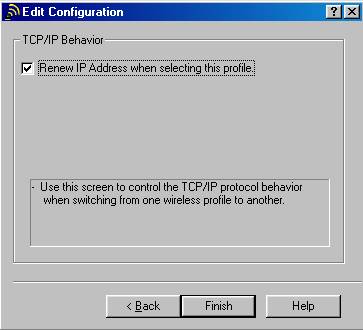
- Check the Renew IP Address when selecting this profile box.
- Click Finish to continue.
- Click OK to finish setting up the UBC wireless network profile.
Note: For Windows 2000 Installations, after you click OK , a message indicating that Windows is updating the IP address of the ORiNOCO PC Card will appear. This may cause your system to hang or freeze up. If this happens, reboot your system and then continue with the following steps below. Verify the installation was completed successfully.
- Check to see if the Client Manager is displayed in the Windows task bar.

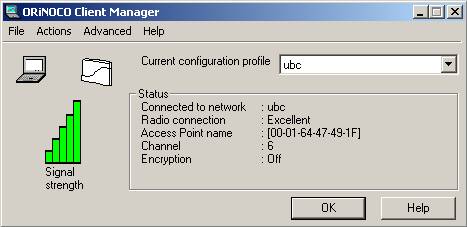
- To open the Client Manager double-click on the Client Manager icon in the Windows task bar.
The ORiNOCO Client Manager program is a software tool that you can use to check the quality of your network connection and edit your configuration profile.
Configuring the UBC Wireless Network Setup for Windows XP
- Insert your ORiNOCO PC Card into your laptop. Windows XP will now automatically detect
your card and install the drivers for it.
Windows XP will automatically search for any available wireless connections. Once a wireless connection has been found, Windows XP will inform you that a connection has been made.
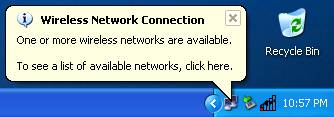
Click to see the list of available networks.
- Select the UBC Wireless Network.
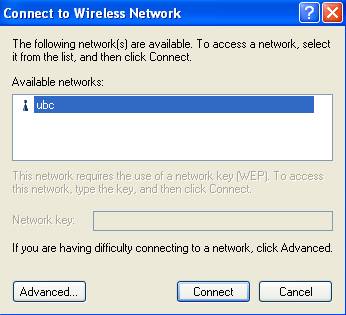
- Click the Connect button to connect to the UBC Wireless Network.
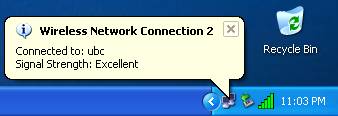
You are now connected to the UBC Wireless Network.
How to Access and Login to the UBC Wireless Network
In order to check your email or surf the Internet, you have to first get authenticated by the wireless network. To get authenticated on the wireless network you will need to have a CWL (Campus Wide Login) Account and supply the following:
- CWL User Name
- CWL Password
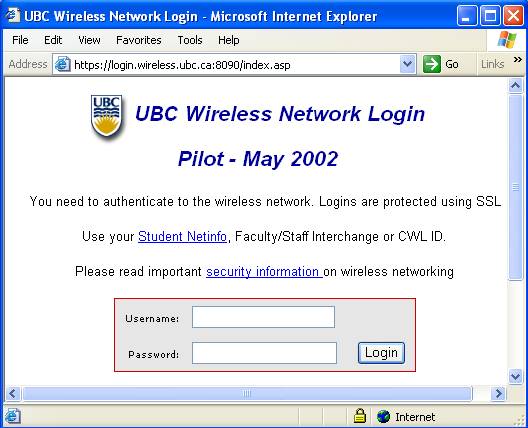
To access the wireless network:
- Open your web browser (Internet Explorer, Netscape). You will automatically be
redirected to a secure encrypted (SSL) login page.
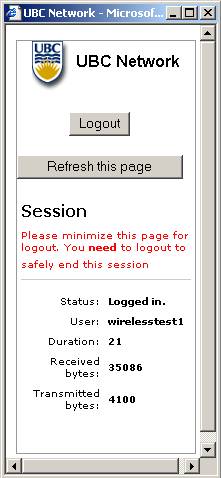
- Once you are authenticated a second window will pop up. Do not close this window, it will not only display your wireless session but also keep your access open on the wireless network.
 |
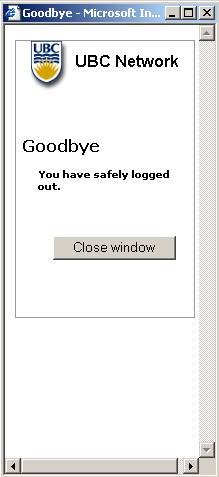 |
Once you are finished using the wireless network, you must logout to safely end your session.
If you have any questions on this, please contact us - we want to know!
