For Windows Users
Installation Instructions
- FileZilla is a free FTP client that is available for download here: http://downloads.sourceforge.net/filezilla/FileZilla_3.0.4.1_win32-setup.exe . When prompted, save the file in an easily accessible location.
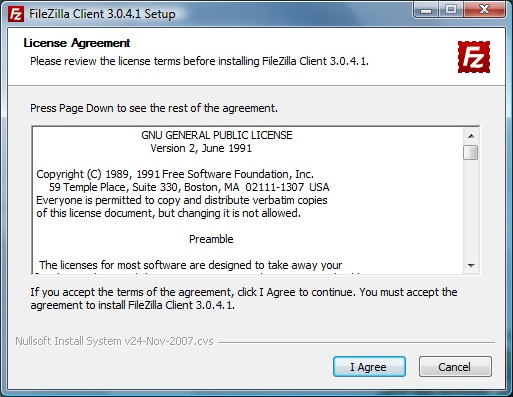
- Review the Licence Agreement. If you agree to the terms, click I Agree. Note that the following steps may differ slightly depending on your computer's setup and your version of Windows.
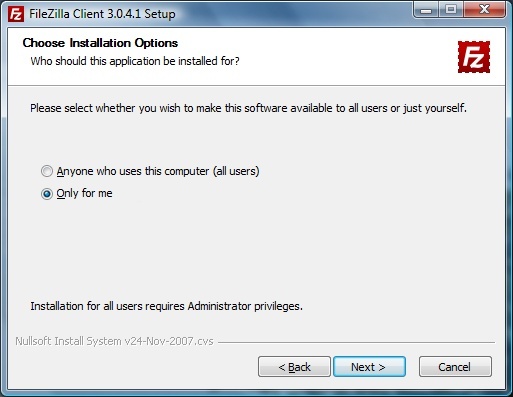
- Choose whether you would like to install the program for all users on your computer, or just for your own account, and click Next .
- Under Choose Components , you must install all three of the first components in order to use the program. You can check the Desktop Icon option if you would like a shortcut to FileZilla placed on your desktop, and click Next .

- You can specify a location for the program to be installed, otherwise the default location is fine. Click Next .

- Choose the Start Menu folder you would like the program to be listed in, and click Install . This will start the installation process. Once it has completed, click Finish to end the installation process.
Instructions for Mac OS Users
- FileZilla is a free FTP client that is available for download here: http://filezilla-project.org/download.php?type=client. There are two options for Mac OS: If you're using an Intel-based Mac, choose the first option, marked FileZilla_3.0.4_i686-apple-darwin8.app.tar.bz2 . If you're using an older PowerPC-based computer, choose the second option, FileZilla_3.0.4_powerpc-apple-darwin8.app.tar.bz2 . When prompted, save the file in an easily accessible location.
- Open the FileZilla application that was extracted to the same directory. No further installation is needed; whenever you need access to your Home Directory, just open this program.
Setup Instructions for Both Operating Systems
- Open Filezilla, and press OK when prompted. This window will only appear the first time you run the program.
- Go to the File menu and select Site Manager , and Click on the "New Site" button.

- A new site icon will appear; type UBC Interchange for the name of this connection and press the Enter key.
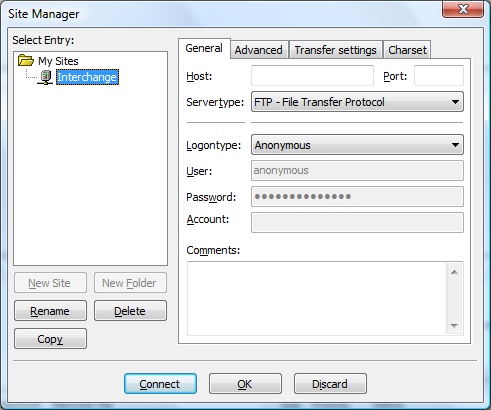
- Fill out the information in this options menu as follows:
- Click on the Host box and enter interchange.ubc.ca .
- Click on the Servertype radio button, and choose SFTP – SSH File Transfer Protocol .
- Click on Logontype and choose Ask for password .

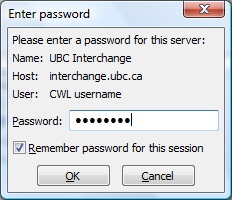
- Click on the Connect button. You will be asked for your password. Enter your CWL password into the Password box and click OK .
Congratulations! You can now connect to your UBC Interchange Home Directory by opening FileZilla at any time. For further support with using Filezilla to transfer files, you can find information online at the Filezilla forums, http://forum.filezilla-project.org/ , or on the wiki page at http://wiki.filezilla-project.org/Main_Page .
