This document assumes that you have an Internet connection already present.
Please follow the instructions below to configure Mac OS X 10.5 to connect to UBC's VPN service.
Establishing a VPN Connection
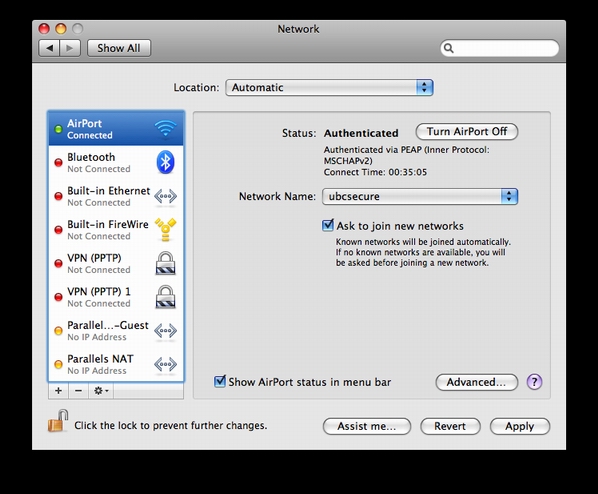
1. Choose Apple, System Preferences, and then click Network.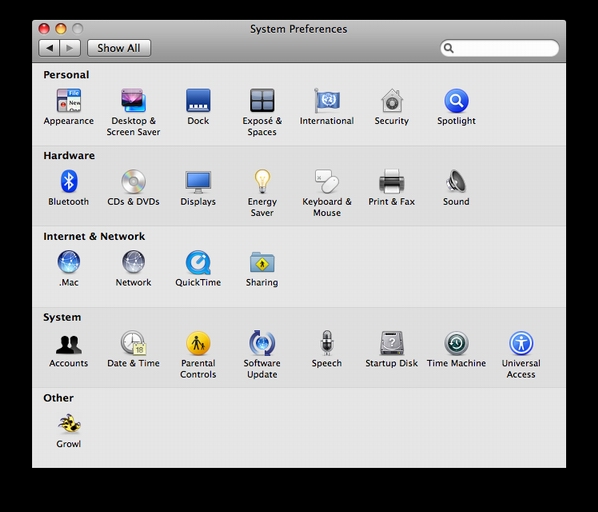
2. Click Add (+) at the bottom of the network connection services list.
(if the lock at the bottom left hand corner of that window is locked, click it to activate the settings for Network)
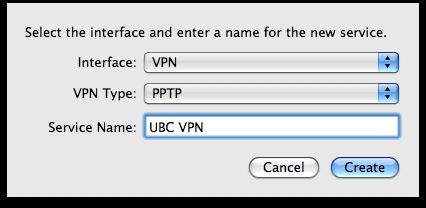
3.
- Choose VPN from the "Interface" pop-up menu. "VPN Type" now shows up below this pop-up-menu.
- Choose "PPTP" from the "VPN Type" pop-up menu.
- Type in "UBC VPN" for the "Service Name".
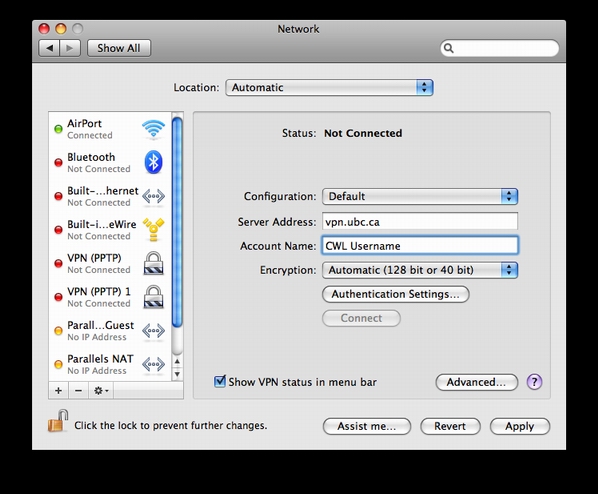
4.
- Type in "vpn.ubc.ca" for the "Server Address".
- Type in your CWL username for "Account Name".
- Choose "Automatic (128 bit or 40 bit)" for "Encryption".
5.
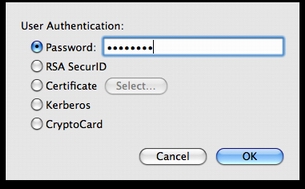
- Click the Authentication Settings button.
- Type in your CWL password for the field that says "Password:" and click OK.
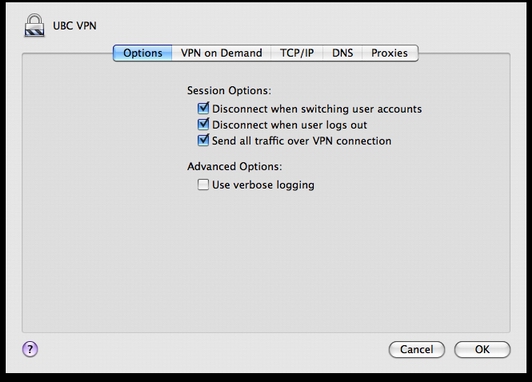
6. Click on the "Advanced..." button.
7. In the "Options" tab, make sure "Send all traffic over VPN connection" is marked and click OK.
8. Make sure "Show VPN status in menu bar" is marked and click "Apply".
9. To connect, click on the "Connect" button. You should now be connected to the VPN network at UBC.
