- Contivity Client
- Downloading and Installing the Client
- Configuring the VPN Client for a Wireless Connection
UBC also supports one of the most secure methods of encryption on the Internet, called IPSec. In order to support IPSec, you will need to download and install the Nortel Contivity Client software. This software is only available for Windows XP operating systems.
Unfortunately, because of the wide range of computers on campus, we cannot provide support for all types of installations. UBC IT will provide best effort support. When installing anything on your computer, please check with your computer support personnel - they are in the best position to tell you whether or not they can support the installation.
Contivity Client
The Contivity VPN Client provides a fully encrypted and authenticated VPN connection from your Internet connection to the core UBC Network. From there, traffic is directly routed to a department's network or leaves UBC unencrypted.
In order to establish a VPN connection using the Contivity client, you need the following:
- Campus Wide Login: The Campus-Wide Login (CWL) is your all-access pass to online services at UBC. Click here to register now for your CWL. Registration is quick and easy.
- Contivity VPN Client Software: See the next section to find out how to download the software.
Downloading and Installing the Client
- Download the Contivity Client and save it to your hard drive.
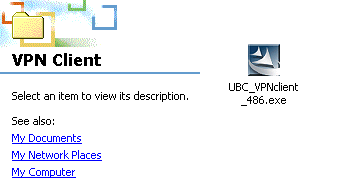
- Install the Contivity VPN Client by double clicking on the program name (UBC_VPNclient_486.exe). This will begin the Install Shield Wizard.
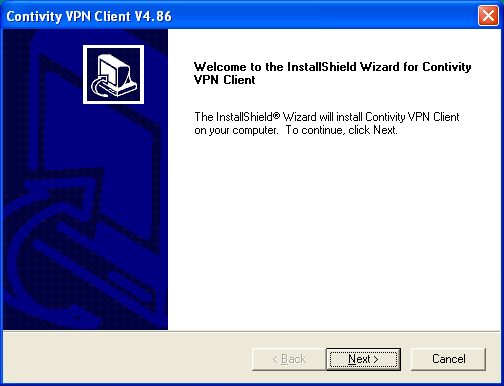
- Click Next to continue.
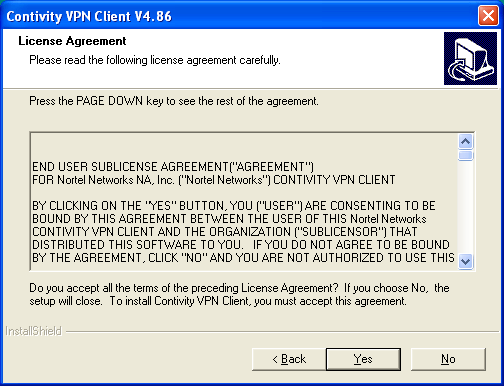
- Click Yes to accept the License Agreement.
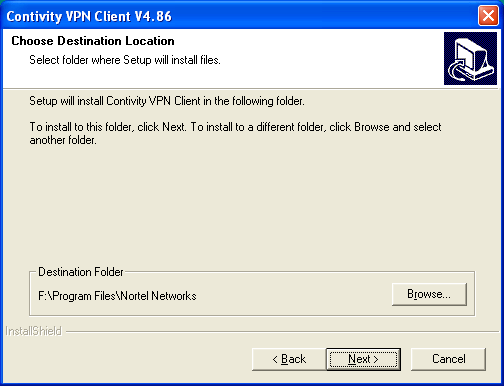
- In the Choose Destination Location dialog box, choose a destination folder for the Contivity client software by clicking on Browse or click Next to install it to the default location.
- Click Next to select the Nortel Networks program folder.
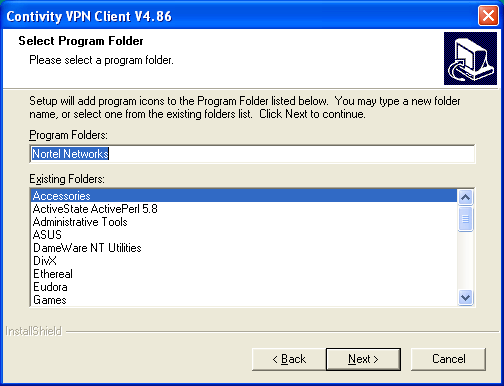
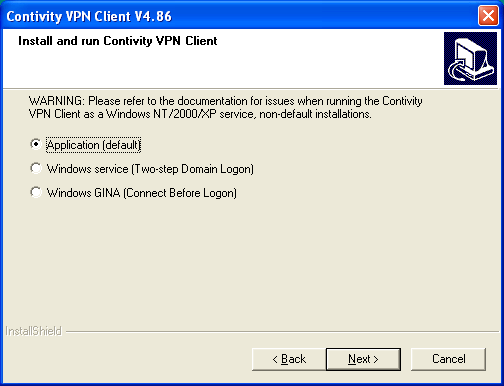
- Select Application (default) and click Next.
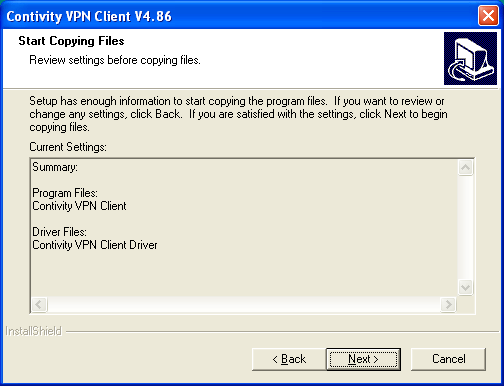
- Click Next to start copying files.
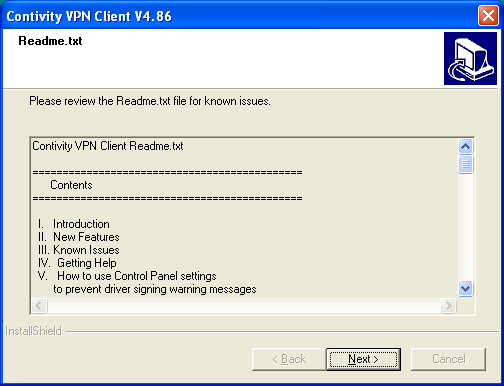
- On the Readme.txt dialog box, click Next to continue.
- Select Yes, I want to restart my computer now, and click Finish to complete the installation.

Configuring the VPN Client for a Wireless Connection
After you have installed the Contivity VPN Client and rebooted your computer, you will need to follow the instructions below to configure the VPN client.
- To set up the Contivity Client, click on Start --> Programs --> Nortel Networks --> Contivity VPN Client.
- You should see the following window. There are two pre-configured locations that can be selected from in the Connection drop box. Choose UBC-Wireless for connections from the UBC wireless network, or UBC for other campus or off-campus connections.
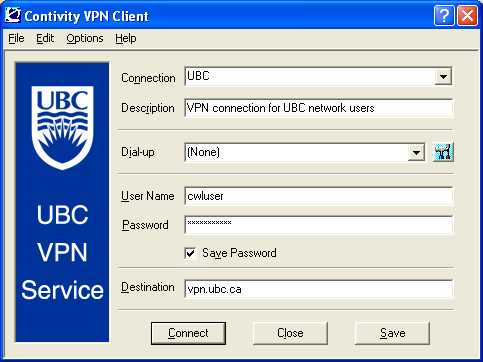
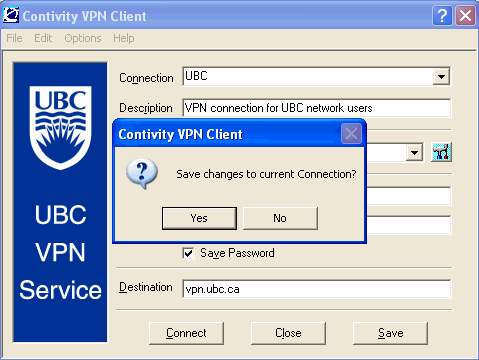
- Enter your CWL id and password in the provided fields and click Save. Choose Yes to save your changes.
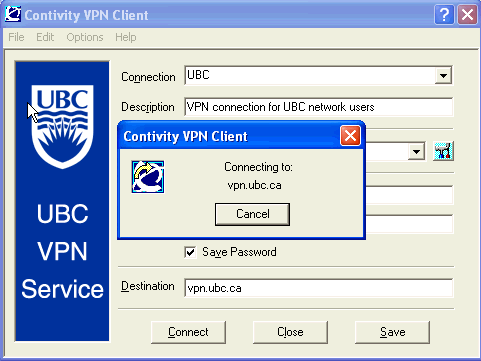
- Click the Connect button to initiate your VPN connection.
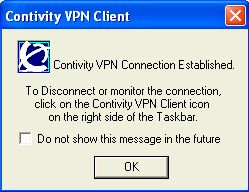
- If your session connects successfully, you'll see the following dialog box. Click OK to clear it, and check the box next to Do not show this message in the future if you don't need to see it again.
- To check the status of your connection, double click the Contivity VPN status icon in the bottom right of your desktop, you should see the following information box.
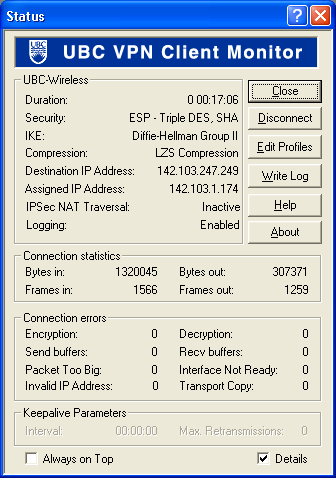
- At this point, all traffic is tunneled back to UBC (and from there, information is unencrypted.)
- You can use this same window to disconnect from the UBC VPN service (using the Disconnect button.)
