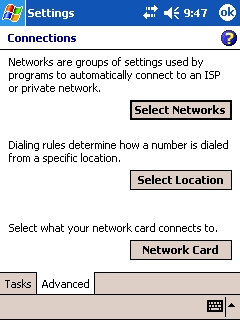
- Click Start, then Settings, then the Connections tab, and click the Connections icon.
- Click on the Advanced tab, then click on Select Networks.
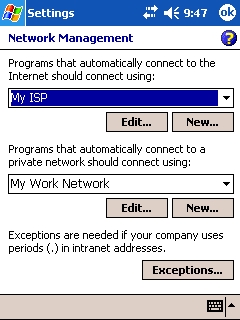
- In the section for Programs that automatically connect to a private network should connect using click the New button.
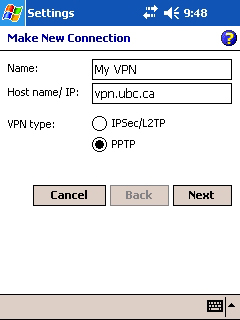
- Type UBC VPN for the name of the connection.

- Click the VPN tab, then New button and enter the following:
-
Host name/IP:
- If you are associated with the UBC-Vancouver campus, type: vpn.ubc.ca
- If you are associated with the UBC-Okanagan campus, type: vpn.ok.ubc.ca
- VPN type: PPTP
- Click Next.
-
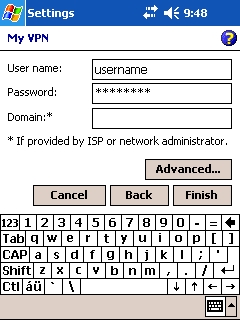
- Enter your CWL user name and password. Leave the Domain field blank. Click the Finish button, then OK at the top right.
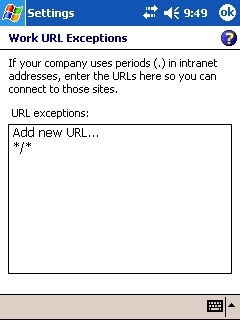
- Click the Exceptions button, then click Add new URL and type in */*.
- Click OK at the top right until you are back to the desktop.
- To connect to the VPN server, click your Connectivity icon at the top middle of your main screen, then click Connect VPN.
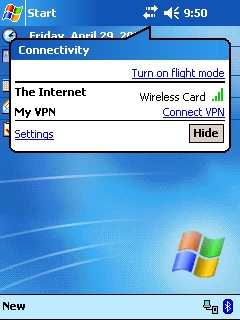
At this point, all traffic is securely tunneled back to UBC.
