This document assumes that you have an Internet connection already present. Please follow the instructions below to configure Windows 2000 to connect to UBC's VPN service.
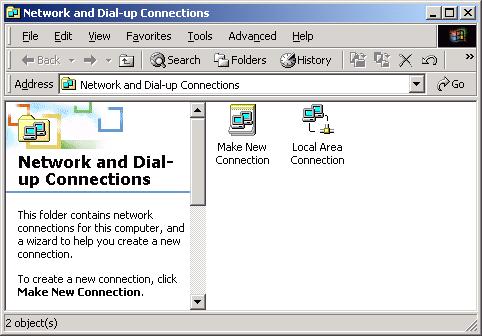
- Select Start --> Settings --> Network and Dialup Connections.
- Double-click Make New Connection.
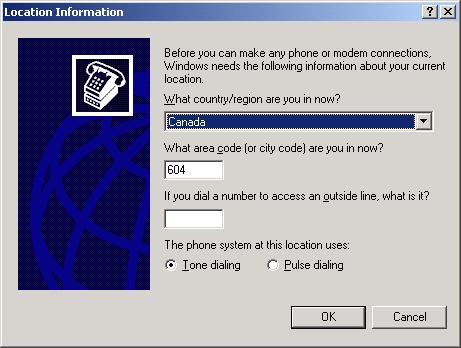
- Unfortunately, the Microsoft VPN client uses dialup networking and will ask you to configure your area code.
Enter your country and area code in the Location Information screen, and click OK to continue.
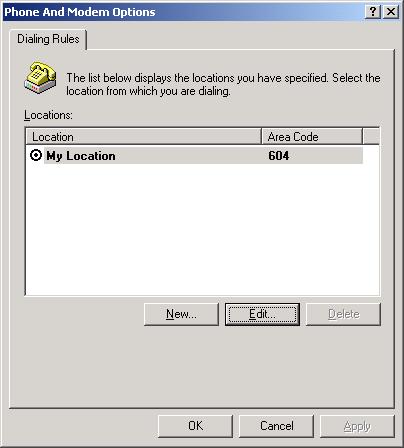
- This brings up the Phone and Modem Options screen. Click OK to continue.
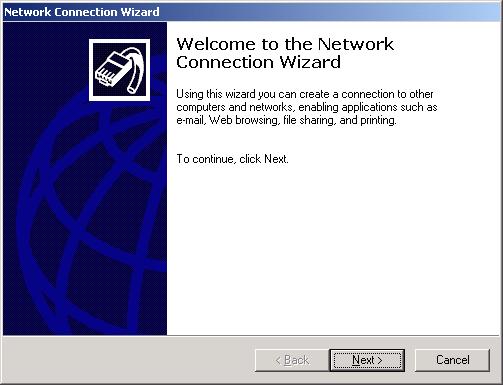
- This will bring up the Network Connection Wizard. Click Next to continue.
- Select Connect to a private network through the Internet and click Next.
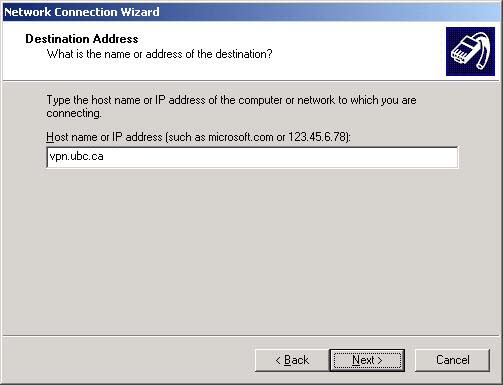
- In the Destination Address dialog box, enter the address of the UBC VPN server:
- If you are associated with the UBC-Vancouver campus, type: vpn.ubc.ca
- If you are associated with the UBC-Okanagan campus, type: vpn.ok.ubc.ca
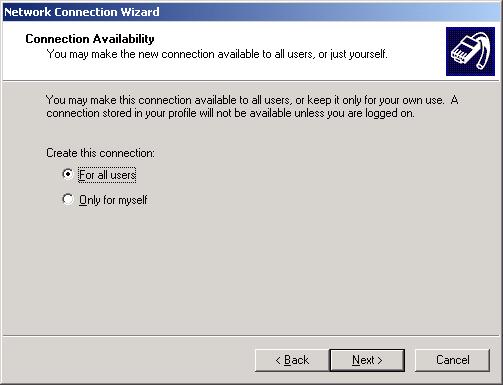
- Click Next to access the Connection Availability dialog box. Select which users on your system will have access (typically all) and click Next.
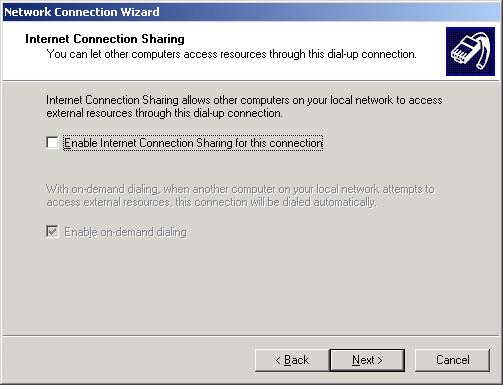
- In the Internet Connection Sharing dialog box, uncheck the "Enable Internet Connection Sharing for this connection" option and click Next.
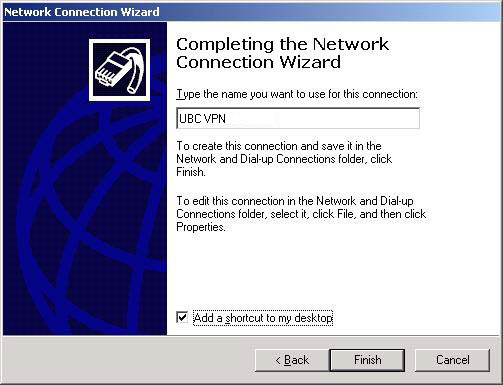
- To complete the Network Connection Wizard, give the connection a name that is easy to remember (e.g., UBC VPN), select Add a shortcut to my desktop (you can always remove it later), and click Finish.
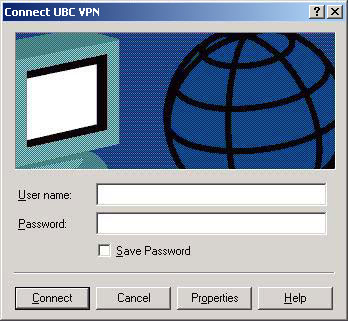
- When you are done, the Connect dialog box will appear. Click the Properties button for some last important configuration settings.
- Click on the Security tab.
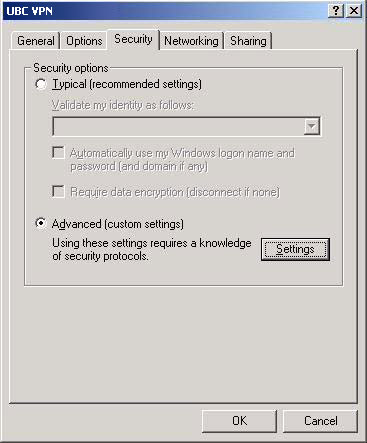
- Select Advanced and click the Settings button.
- Uncheck Microsoft CHAP (MS-CHAP) and place a checkmark next to Microsoft CHAP Version 2 (MS-CHAP v2) to turn it on.
- Click OK to continue.
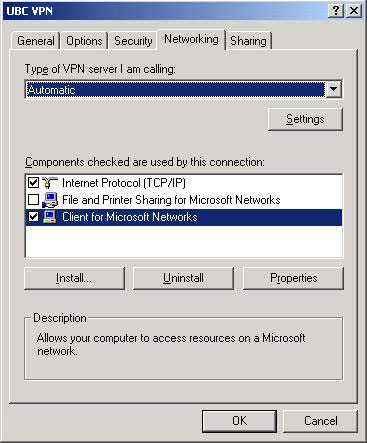
- Click on the Networking tab.
- We highly recommend that you uncheck File and Printer Sharing, as this feature potentially opens up your computer to intruders.
- Keep Client for Microsoft Network enabled if you connect to a Microsoft file server; otherwise turn it off.
- Click OK to save your settings.
- Enter your Campus-wide Login (www.cwl.ubc.ca) and password and click Connect.
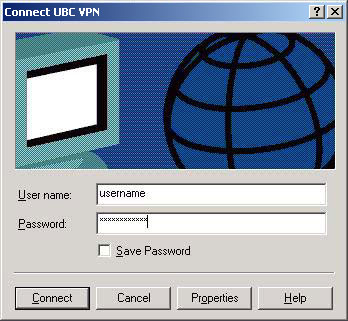
- The VPN Server will verify your username and password.
- If you are connected, the Connection Complete screen will appear. Click OK.
- A Network Connection icon will appear in the lower right hand corner of the Windows taskbar when the connection is complete. To see information about your VPN connection and to disconnect from the VPN service, double-click on the network connection icon.

- You are now fully set up to use UBC VPN.
