This document assumes that you have an Internet connection already present. Please follow the instructions below to configure Mac OS to connect to UBC's myVPN service.
Important notes:
- Requires Mac OS X 10.4 and above
- OS X Lion (10.7) requires Java SE 6 which by default is not included. Download Java here before continuing with the VPN client set up.
Web-based VPN Client Setup
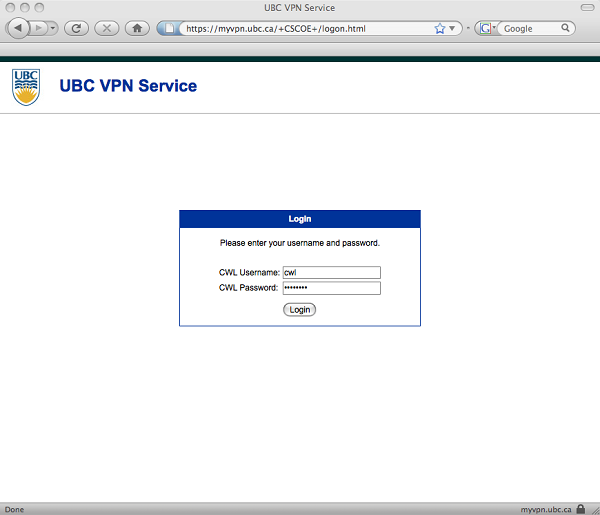
- Open your browser and go to the website https://myvpn.ubc.ca
- Enter your CWL username and password and click Login.
Note: If you are a member of a specialized departmental group, you can append your group id after the CWL username (e.g. cwluser.department). If you are not sure whether you need a departmental group, just enter your CWL username.
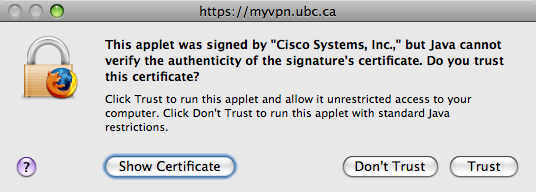
- The installation will begin and may take several minutes to complete. If presented with a security certificate prompt, click Trust to accept the certificate.
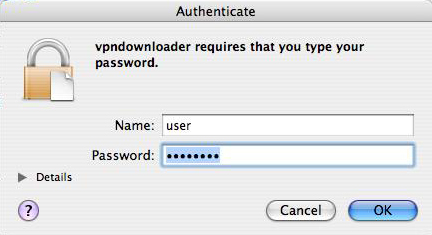
- If prompted to elevate permissions for installation, enter your Mac OS X Profile username and password and click OK.
- The installation will continue. If it fails, proceed to the Manual VPN Client Installation section. Otherwise, the Cisco AnyConnect VPN Client window should read Connection Established.
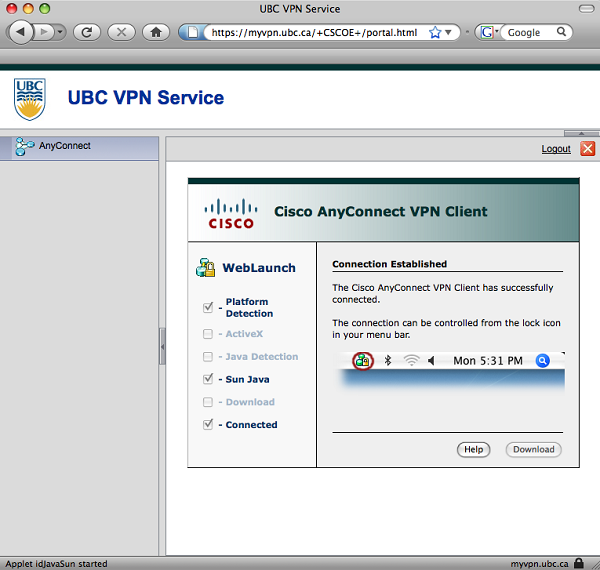
- When the installation is completed, an icon will appear at the top menu bar of the desktop. You are now successfully connect to the UBC myVPN service. You can click on the icon to disconnect or quit.

Enabling Access to Your Local (home) Network Devices:
When you enable local LAN access, it will allow your computer to access devices in IP addresses range of 192.168.0.0 to 192.168.255.255. This is useful if you want to connect to other network devices at home such as network printers. Note: If you are connecting to a specialized departmental pool, this option may be disabled depending upon your department's security settings.
- Click on the Cisco AnyConnect VPN Client icon on the menu bar.
- Select Bring AnyConnect to front.
- On the menu bar click on Cisco AnyConnect VPN Client (next to the Apple icon), then select Preferences.
- Turn on Enable local LAN access, then click Save.
Reconnecting to myVPN
You have 2 options in reconnecting to myVPN:
- Go to https://myvpn.ubc.ca and the Cisco AnyConnect VPN Client should automatically launch.
- If you would like connect without going to the website, use the installed client.
-
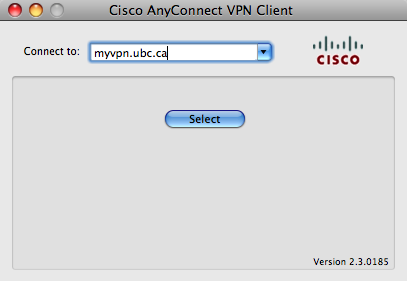
- Go to Applications -> Cisco- > Cisco AnyConnect VPN Client.
- In the Connect To: field, enter myvpn.ubc.ca and click Select.
- Enter your CWL username and password, and click Connect.
Note: If you are a member of a specialized departmental group, you can append your group id after the CWL username (e.g. cwluser.departmentgroup).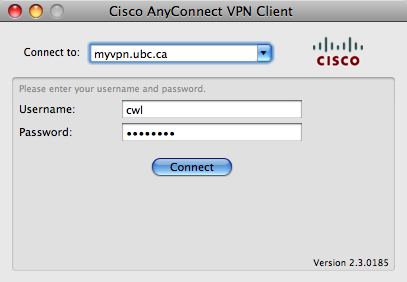
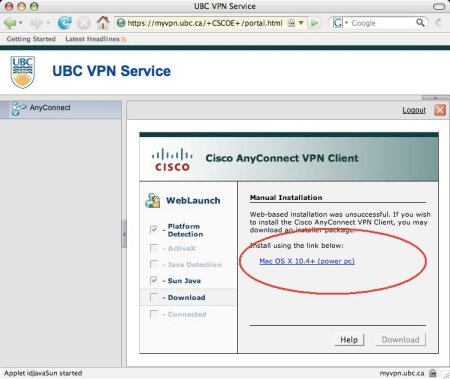
Manual VPN Client Installation
- If the automated installation fails, you will be presented with a screen similar to the following. Click the link to continue.
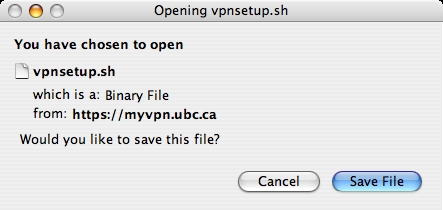
- Save the vpnsetup.sh file to your Desktop.
- Open the Mac OS X Terminal in your Applications/Utilities folder.
- At the command line, enter the following commands:
cd ~/Desktop
sudo sh ./vpnsetup.sh
enter your Mac OS X Profile password to proceed with the installation. - When the installation is complete, you may close Terminal. In your browser, go back to website
https://myvpn.ubc.ca and login with your CWL username and password to connect.
