This document explains how to setup Mozilla Thunderbird 1.x - 2.x for Netinfo/Interchange using Secure IMAP (IMAPS)
Configuring Email Settings -- Incoming Server and Account Settings
- Open Mozilla Thunderbird. If you are setting up Mozilla Thunderbird for the first time, a setup wizard will appear. If so, please skip down to step 4.
- Select the Tools menu and choose Account Settings .
- Click on the Add Account button.
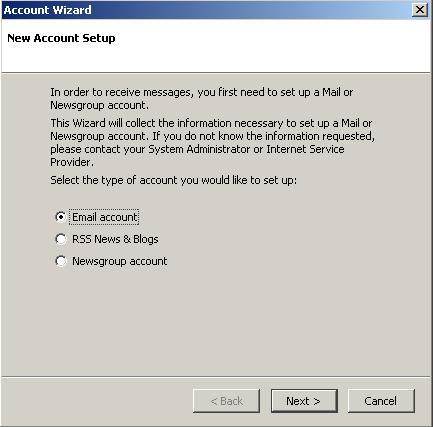
- Choose Email account . Click Next .
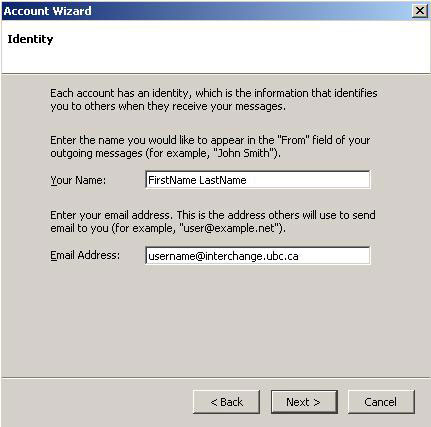
- Enter in your full name (the name that you wish to be known as when you send email) in the Your Name field and enter your Netinfo/Interchange email address username@interchange.ubc.ca in the Email Address field. Click Next .
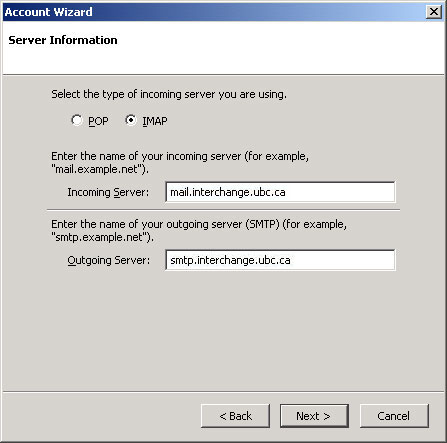
- On the Server Information screen:
- Select IMAP as the incoming server.
- Enter mail.interchange.ubc.ca in the Incoming Server field.
- Enter smtp.interchange.ubc.ca in the Outgoing Server field.
- Click Next .
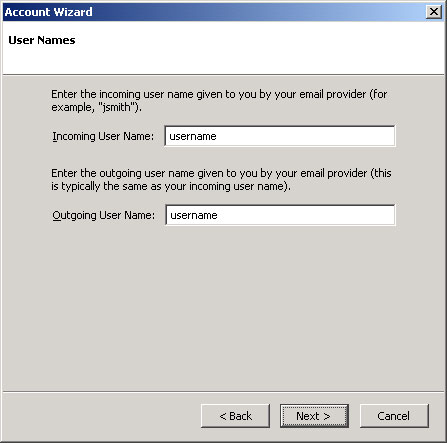
- On the User Names page:
- Ensure that Incoming User Name is set to your Netinfo/Interchange username.
- Ensure that Outgoing User Name is also set to your Netinfo/Interchange username.
- Click Next .
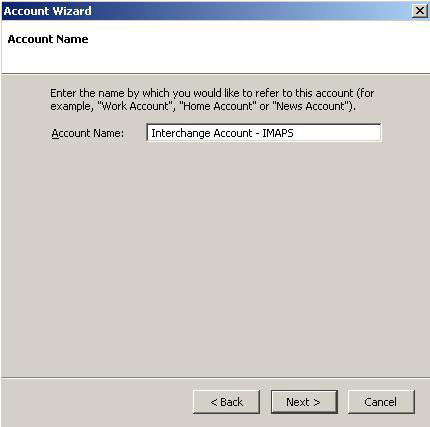
- Give the account a descriptive name. For example, Interchange Account - IMAPS . Note that the choice of Account Name will not affect your ability to connect to the server. It is used only to identify the account in the email program. Click Next .
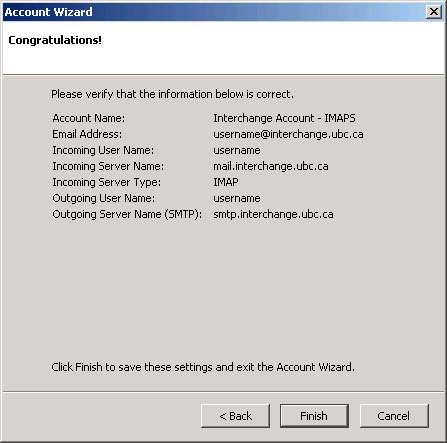
- Confirm that the account settings are correct and then click Finish .
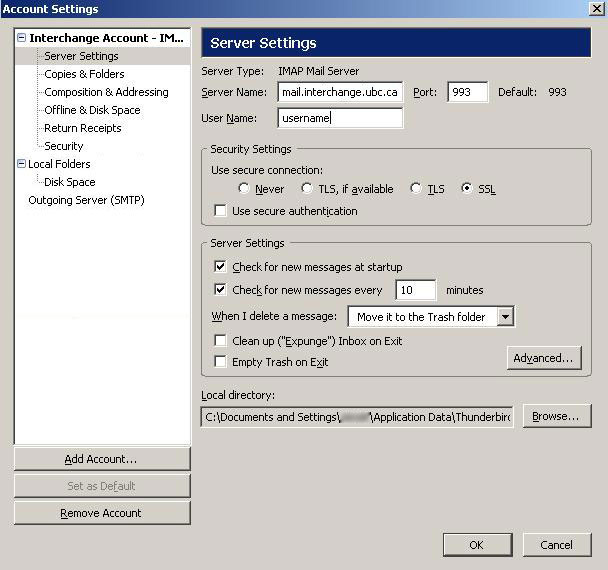
- You will now be returned to the main Account Settings window, and your Netinfo/Interchange Account should be listed here. Click on the Server Settings tab under your Netinfo/Interchange Account to configure important security settings.
- Under Security Settings , select SSL and ensure that the port number listed next to the Server Name is set to 993 . If not, change it to 993 .
Configuring Outgoing Server Email Settings
- Click on Outgoing Server (SMTP) listed in the left pane of the Account Settings window.
- If you are using Mozilla Thunderbird 2 or above, highlight the username - smtp.interchange.ubc.ca entry and click Edit .
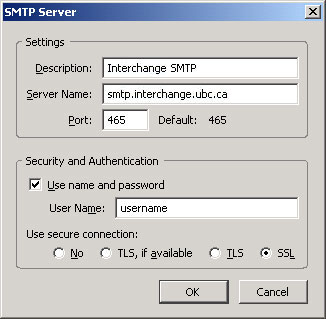
- On the SMTP Server settings page:
- The Server Name should be set to smtp.interchange.ubc.ca .
- Click the SSL option and set the Port to 465 .
- Also ensure that your Netinfo/Interchange username is listed in the User Name box with "Use name and password" checked.
- Click OK .
-
Click OK to return to close the Account Settings window.
- You are now ready to check your Netinfo/Interchange email. Click Get Mail to check your email.
- Note: The first time that you connect to the Interchange server, you may be prompted for your Interchange username and password. You will need to provide it in order to access your email. You may save your password if you wish, so that you do not need to provide it again.
