This document explains how to set up Entourage 2004 (Mac OS X) for use with Netinfo/Interchange using Secure POP (POPS). Entourage comes with Microsoft Office for the Mac OS X operating system.
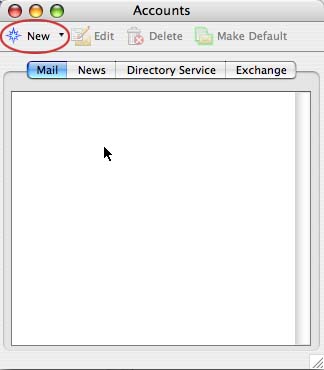
- If you are not presented with a wizard which prompts you to enter the settings in Entourage, click on the Tools menu, click Accounts.

- Make sure the Mail tab is selected. This lists all the current mail accounts you have set up.
- Click on New.
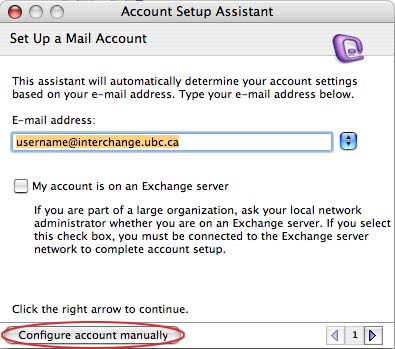
- The Account Setup Assistant will now open.
- In the E-Mail Address box, type in your full email address.
- Your email address is username@interchange.ubc.ca where username is your Netinfo/Interchange username.
- Click on the Configure Account Manually.
- You should now click on the drop down box. Select POP and then click on OK.
- You should now see a window as shown below. In the Account Settings window:
- The Account name is the email profile name (a descriptive name that you choose.) For the Account Name, type in whatever you would like to refer to it as. e.g. Interchange
- In the Name box, type in your full name. This is the name that users see when they receive messages from you.
- In the E-mail address box, type in your email address which is username@interchange.ubc.ca where username is your Netinfo/Interchange username.
- In the Account ID box, type your Netinfo/Interchange username.
- In the POP server box, type: mail.interchange.ubc.ca
- In the Password box, type in your Netinfo/Interchange password.
- The Save password in my Mac OS keychain option is automatically selected. If other people have access to your computer you may wish not to select this option to increase your security.
- In the SMTP Server box, type: smtp.interchange.ubc.ca
- Click on the Click here for advance receiving options button. It should give you further options as shown below.
- Click on the check box beside This POP service requires a secure connection (SSL) so there is a checkmark beside it.
- Close this options window.
 ~
~
- Click on the Click here for advanced sending options button. It should give you further options similar to the picture as shown below.
- Click on the box beside SMTP requires secure connection (SSL) so that there is a check in the box.
- Click on the box beside Override default SMTP port and change the number in the box beside that to 587.
- Note: If you encounter problems sending email after setup is complete, try setting the above SMTP port to 465 instead.
- Click on the box beside SMTP server requires authentication and ensure that Use same settings as receiving mail server is selected.
- Click on the small box on the top left hand corner to close these extra options.
- Click Finish.
- Entourage is now setup for use with Netinfo/Interchange.
