This document explains how to set up Outlook 2000 on a PC for Netinfo/Interchange using Secure POP (POPS).
- In Outlook 2000, pull down the Tools menu and select Accounts.
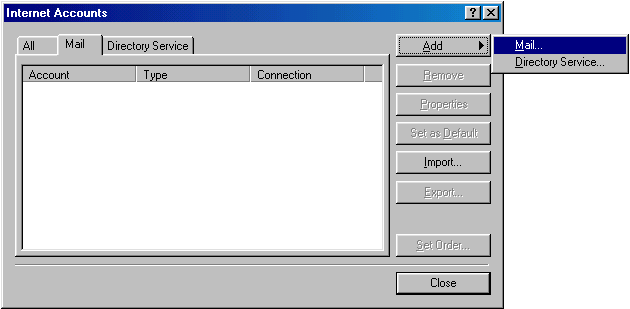
- A window will appear, listing the mail and directory service accounts you have already set up. If you haven't set up Outlook 2000 yet, this box will be empty. Click the button marked Add and select Mail to add a new mail account.
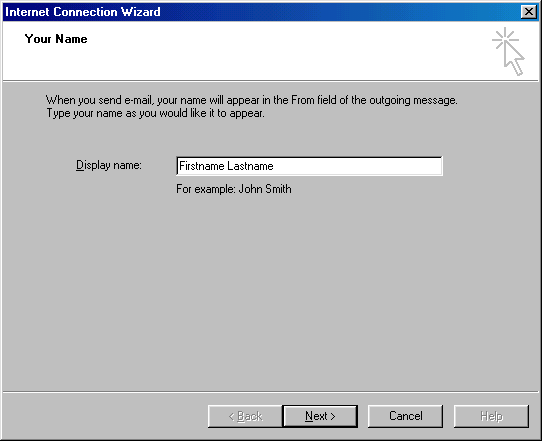
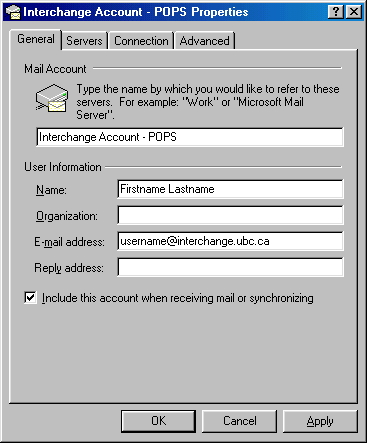
- The Internet Connection Wizard window will pop up. In the Display name field, enter your full name, then click Next to continue.
- In the E-mail address field, enter your Interchange email address, then click Next to continue.
- In the E-mail Server Names window:
- Select POP3 from the drop-down menu.
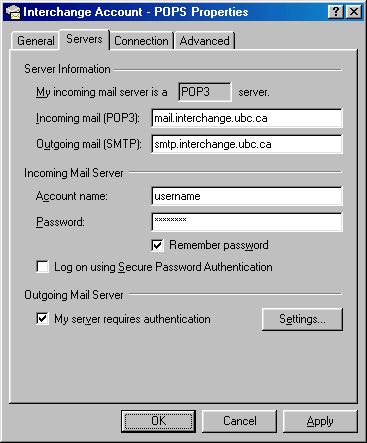
- Set the Incoming mail (POP3 or IMAP) server to mail.interchange.ubc.ca
- Set the Outgoing mail (SMTP) server to smtp.interchange.ubc.ca
- Click Next to continue.
- In the Internet Mail Logon window:
- Your Account name should be set to your Netinfo/Interchange username.
- Your username is the first part of your email address. If your email address is username@interchange.ubc.ca, then your username is username.
- Your Password is your Netinfo/Interchange password.
- If you want Outlook to remember your password, put a checkmark in the box to the left of Remember password. If other people have access to your computer, you may wish to increase your security by not checking this box.
- Do not check the Log on using Secure Password Authentication (SPA) box.
- Click Next to continue.

- Your Account name should be set to your Netinfo/Interchange username.
- Click Finish to exit the wizard.
- You will be brought back to the Internet Accounts window. Select your newly created mail account, and click Properties.
- The Mail Account is the mail profile name. Under Mail Account, type in whatever you would like to refer to it as, for example Interchange Account - POPS.
- Select the Servers tab.
- Place a checkmark next to My server requires authentication.
- Place a checkmark next to My server requires authentication.
- Click the Settings... button.
- Select Use same settings as my incoming mail server.
- Click OK.
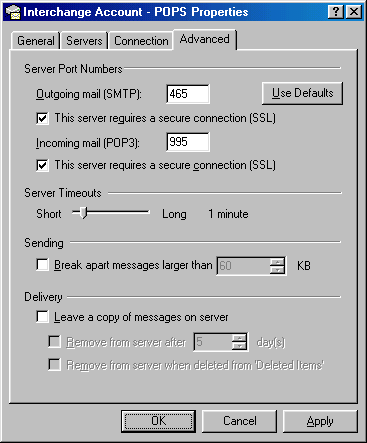
- Click the Advanced tab:
- Under Outgoing mail (SMTP), check the box beside This server requires a secure connection (SSL).
- Change the number next to Outgoing mail (SMTP) to 465.
- Under Incoming mail (POP3), check the box beside This server requires a secure connection (SSL).
- The number in the box next to Incoming mail (POP3) server should automatically change to 995. If it doesn't, change the number in this box to 995.
- If you access your email from more than one location, or if you wish to keep a copy on the server, check the box next to Leave a copy of messages on server.
- Click OK.
- Click Close.
- Quit Outlook and restart the program again for your changes to take effect.
