This document explains how to set up Mail 1.2.x for use with Netinfo/Interchange using Secure IMAP (IMAPS). Mail is the default mail client for the Mac OS X operating system.
- First open the Mail application. The Mail application can be found under your Applications or by default in the Dock (the toolbar at the bottom of your screen.)

- If you are presented with a startup dialogue as shown below, fill in the settings as follows. If you do not see this dialogue screen, skip to step 5.
- Enter your name in the Your Name field.
- Enter your Interchange email address in the Email Address field.
- Your Email address is username@interchange.ubc.ca where username is your Netinfo/Interchange username.
- In the Incoming Mail Server field, type: mail.interchange.ubc.ca
- Set Account Type to POP.
- In the User Name box, enter in your Netinfo/Interchange username.
- Your username is the first part of your email address. If your email address is username@interchange.ubc.ca, then your username is username.
- Type in your Netinfo/Interchange password in the Password field.
- In the Outgoing Mail Server box, type: smtp.interchange.ubc.ca
- Click OK.
- Upon clicking OK you will be prompted twice that the Connection Failed window as shown below. Ignore these messages by clicking Continue.
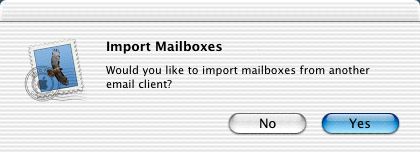
- You will next be prompted to Import Mailboxes. If you have contents from a mailbox in another mail program, click Yes to import that mailbox and then proceed to the next instruction. Otherwise, click No and proceed.
- From the Mail menu, select Preferences.
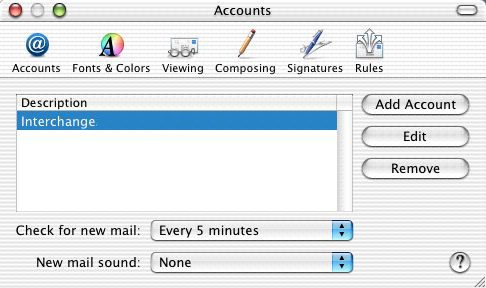
- Choose the Accounts icon at the top of the Accounts window, select your Interchange account from the list and click the Edit button.
- If you do not have an Interchange account currently configured, click the Add Account button instead.
- If you do not have an Interchange account currently configured, click the Add Account button instead.
- If you clicked on the Edit button, proceed to step 9. Otherwise, continue to the next step.
- From the Accounts window, select the Account Information tab and ensure the following settings are entered:
- Set Account Type to IMAP.
- Type in Interchange in the Description field.
- Enter your Interchange email address in the Email Address field.
- Your Email address is username@interchange.ubc.ca where username is your Netinfo/Interchange username.
- Enter your name in the Full Name field.
- Type in mail.interchange.ubc.ca in the Incoming Mail Server field.
- In the User Name box, enter in your Netinfo/Interchange username.
- Your username is the first part of your email address. If your email address is username@interchange.ubc.ca, then your username is username.
- Type in your Netinfo/Interchange password in the Password field.
- To set up the Outgoing Mail Server (SMTP), click the Options button.
- In the SMTP Server Options window:
- In the Outgoing Mail Server box, type: smtp.interchange.ubc.ca
- Change the Server port to 587.
- Ensure the box entitled Use Secure Socket Layer (SSL) is checked.
- In the User Name and Password fields, enter your Interchange username and password.
- Your User Name is the first part of your Netinfo/Interchange email address. If your email address is username@interchange.ubc.ca, then your User Name is username.
- Click OK.
- Back in the Accounts window, select the Advanced tab:
- Add a checkmark beside Use SSL and it should automatically change the Port to 993. If it does not, change it to 993.
- Ensure Password is selected from the Authentication pull-down menu.
- Now, click OK to save the changes and close the Accounts window by clicking on the red circle on top left corner of the window to complete the setup.
- Mail is now setup for use with Interchange/Netinfo email.
