This document explains how to set up Netscape 7.x for Netinfo/Interchange using Secure IMAP (IMAPS).
Creating a New User Profile
Each User Profile contains personalized bookmarks, address books, cookies, mail filters, user preferences, etc... It is convenient to create a separate profile for each person on a shared computer.
- Make sure Netscape is not running.
- Click Start > Programs > Netscape 7 > Profile Manager.
- Click Create Profile.
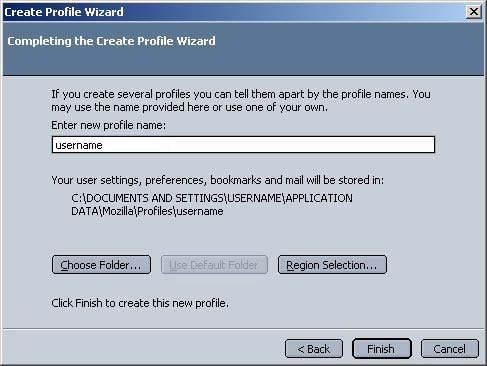
- Type your Netinfo/Interchange username for your profile name, then click Finish.
- Type your Netinfo/Interchange username for your profile name, then click Finish.
- This will return you to the Select User Profile window. Highlight the new profile and click on Start Netscape.
- You'll be asked if you want to register Netscape. If you do not want to register now, click Cancel and when the confirmation window comes up, click Yes.
Configuring Email Settings
- Start Netscape if it does not start automatically.
- Click the Window drop down menu and select Mail & Newsgroups.
- The Account Wizard will open. Select Email account and click Next.
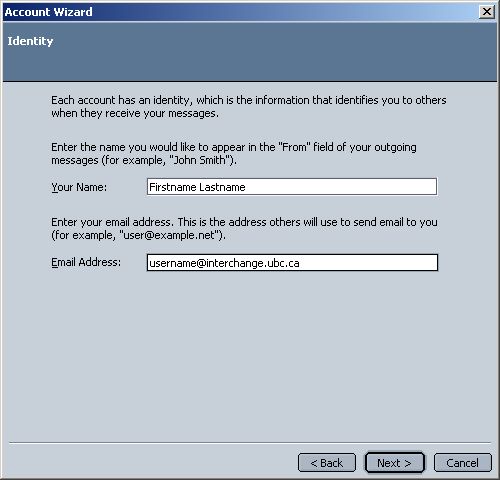
- In the Identity Window:
- Enter your full name in the Your Name box.
- Enter in your email address in the Email Address box.
- Your email address is username@interchange.ubc.ca where username is your Netinfo/Interchange username.
- Click the Next button.
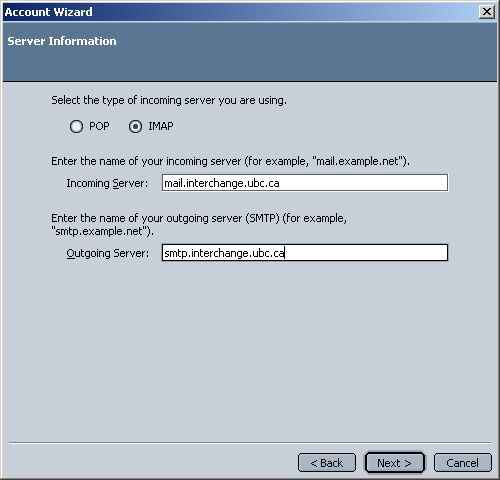
- In the Server Information window:
- Select IMAP for the type of incoming server.
- Type in mail.interchange.ubc.ca for the Incoming Server.
- Type in smtp.interchange.ubc.ca for the Outgoing Server.
- Click the Next button.
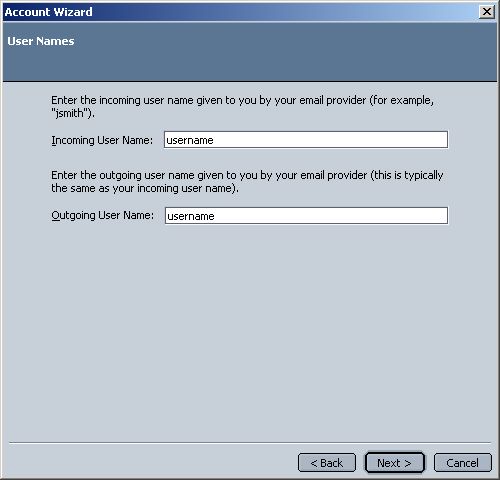
- In the User Names window:
- Your Netinfo/Interchange username should automatically be entered in the Incoming User Name and the Outgoing User Name fields. If this is not the case, enter your Netinfo/Interchange username in both of these fields.
- Your User Name is the first part of your Netinfo/Interchange email address. If your email address is username@interchange.ubc.ca, then your User Name is username.
- Click the Next button.
- Your Netinfo/Interchange username should automatically be entered in the Incoming User Name and the Outgoing User Name fields. If this is not the case, enter your Netinfo/Interchange username in both of these fields.
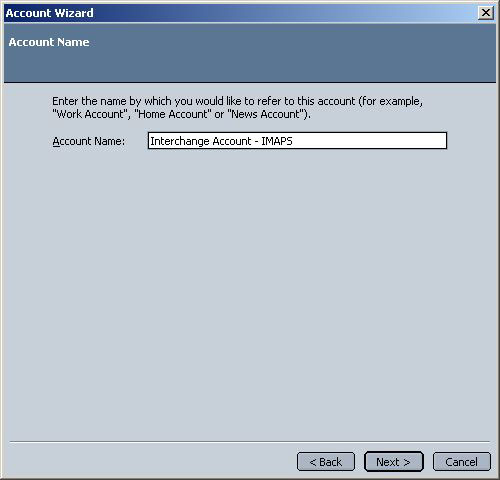
- In the Account Name window:
- The Account Name is the mail profile name (a descriptive name that you choose). For example, enter: Interchange Account - IMAPS.
- Click the Next button.
- Verify your settings and click Finish
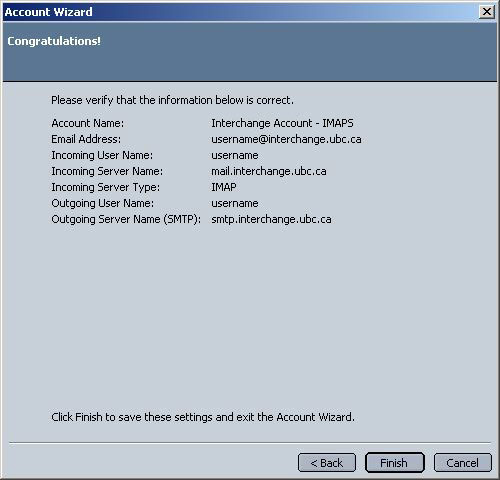
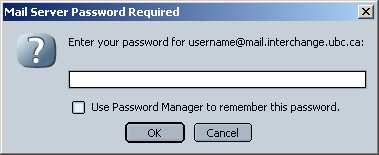
- If you are prompted for your password, click Cancel for now, as the mail setup is still incomplete.
Enabling SSL (Secure Socket Layer) for Incoming and Outgoing Mail
- Click the Edit menu and select Mail & Newsgroups Account Settings...
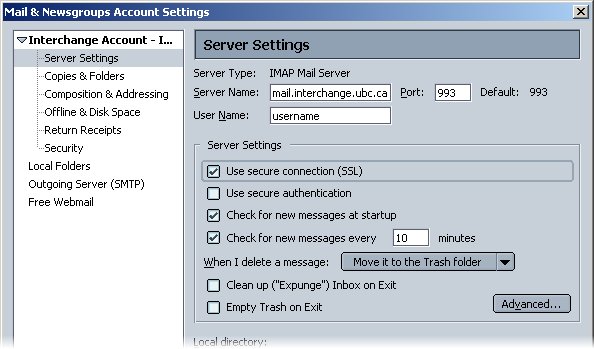
- Click the Server Settings category.
-
Check the Use secure connection (SSL) box. Once this is checked, the port number at the top of the window should automatically change to 993.
-
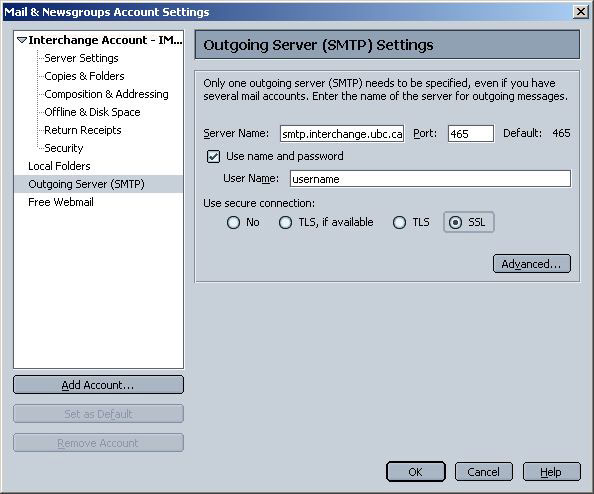
- Click the Outgoing Server (SMTP) category.
- The Server Name field should already be filled in. If it is empty, type in smtp.interchange.ubc.ca
- Check the Use name and password box.
- Enter your Netinfo/Interchange username in the User Name field.
- Under Use Secure Connection, select SSL.
- If you are using Netscape 7.0 or 7.1 rather than 7.2, select Always instead of SSL.
- If you are using Netscape 7.2, ensure that the Port is set to 465.
- If you are using Netscape 7.0 or 7.1, ensure that the Port is set to 587.
Configuring your Application For Use with IMAP
- While still in Mail & News Account Settings, click the Server Settings category.
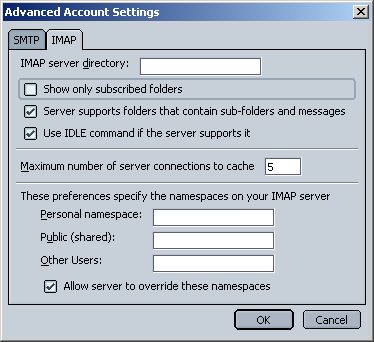
- Click on the Advanced button.
- Uncheck the box that says Show only subscribed folders.
- Click OK.
- Click OK to close to Mail & Newsgroups Account Settings.
- Netscape 7 is now set up for use with Netinfo/Interchange.
Storing Email on your Home Computer (Optional)
If you want to keep your email available on disk when you are offline, follow these instructions:
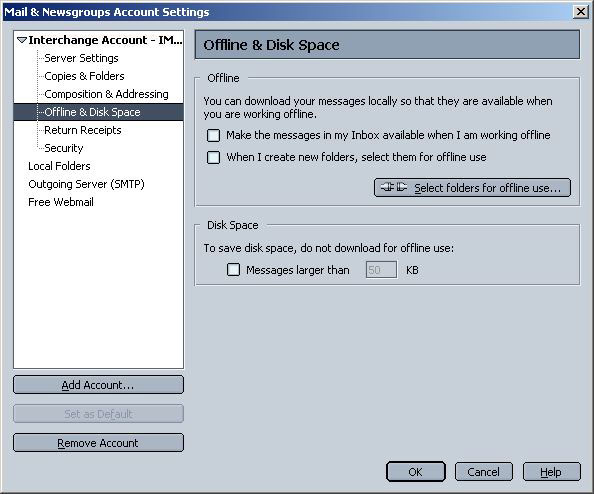
- From Mail and Newsgroups, click Edit, then Mail and Newsgroups Account Settings.
- Select the Offline & Disk Space category.
- If you only want access to messages in your INBOX then check the box next to Make the messages in my Inbox available when I am working offline.
- If you want other folders available for offline use, click on the Select folders for offline use... button and select the folders that you wish that store offline.