This document explains how to set up Windows Mail in Microsoft Vista on a PC for Netinfo/Interchange using Secure IMAP (IMAPS).
Please Note: The UBC IT Help Desk can only provide limited support for this application. Microsoft Vista is currently only supported on a best-efforts basis.
- Open Windows Mail: Go to Start > All Programs > Windows Mail.
- In Windows Mail, pull down the Tools menu and select Accounts.
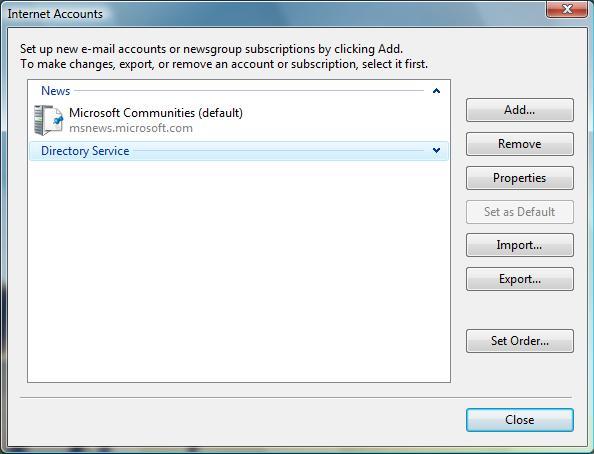
- A window will appear listing the news and directory service accounts you have already set up. Click the button marked Add... and select E-mail Account and then click Next.
- In the Display Name box, type your full name. Click Next to continue.
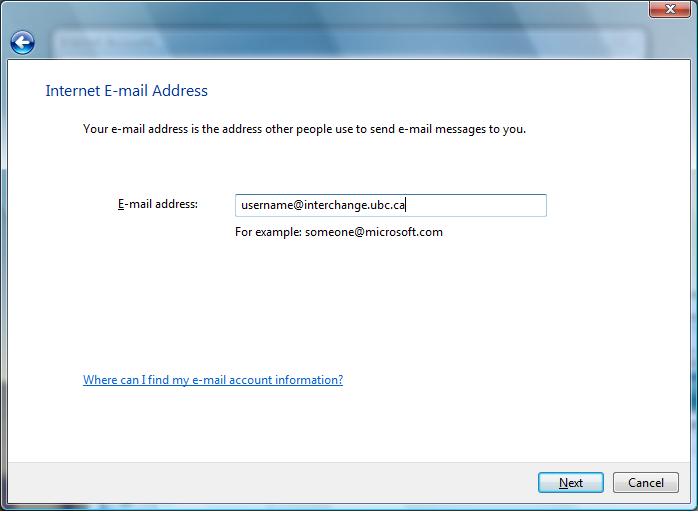
- Type your E-mail address, then click Next to continue.
- Your E-mail address is username@interchange.ubc.ca where username is your Netinfo/Interchange username.
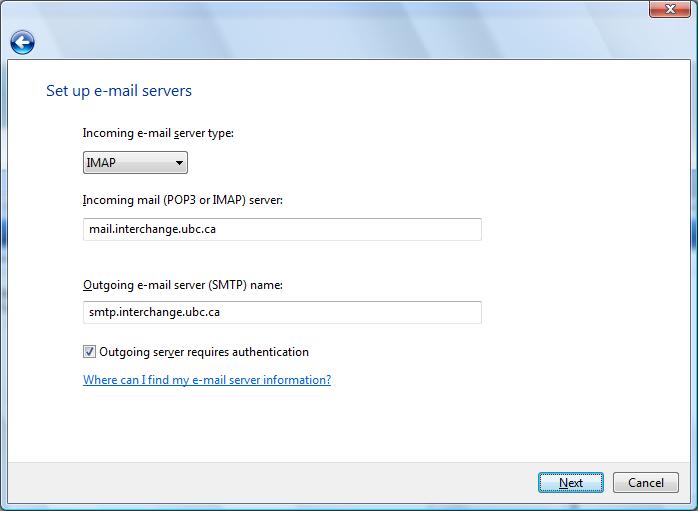
- In the Set up e-mail servers window:
- For your incoming e-mail server type, select IMAP from the drop down menu.
- The Incoming mail (POP3 or IMAP) server should be set to mail.interchange.ubc.ca
- The Outgoing mail (SMTP) server should be set to smtp.interchange.ubc.ca
- Place a checkmark next to Outgoing server requires authentication
- Click Next to continue.
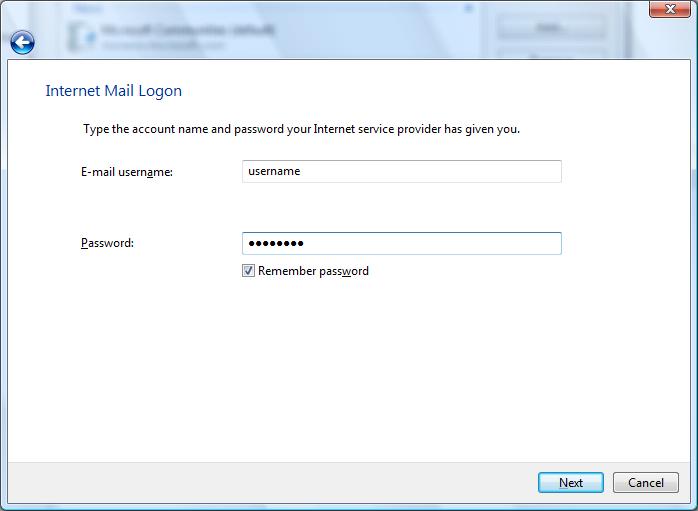
- In the Internet Mail Logon window:
- In the E-mail username field, type in your Netinfo/Interchange username.
- In the Password field, type in your Netinfo/Interchange password and place a checkmark next to Remember password.
- Click Next to continue.
- In the Congratulations window:
- Place a checkmark next to Do not download my e-mail at this time.
- Click Finish to continue.
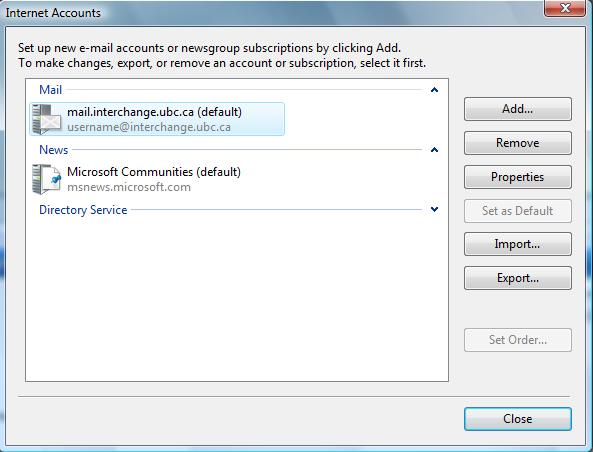
- In the Internet Accounts Window:
- Click on mail.interchange.ubc.ca (default).
- Click Properties.
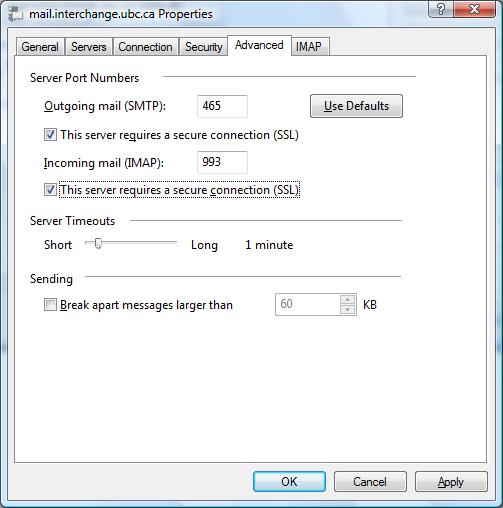
- Click on the Advanced tab
- Under Outgoing mail (SMTP), check the box beside This server requires a secure connection (SSL).
- Change the number next to Outgoing mail (SMTP) to 465.
- Under Incoming mail (IMAP), check the box beside This server requires a secure connection (SSL).
- The number in the box next to Incoming mail (IMAP) server should automatically change to 993. If it doesn't, change the number in this box to 993.
- Click OK.
- Click Close.
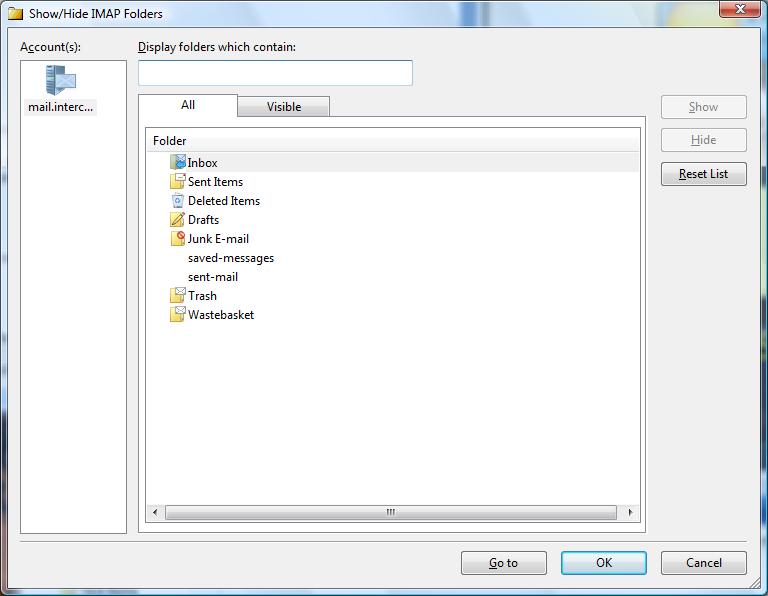
- You will be asked if you would like to download the folders from the newly added mail server. Click Yes to continue.
- In the Show/Hide IMAP window, click OK to continue.
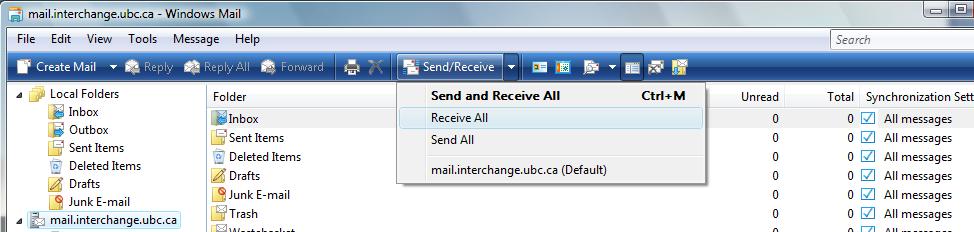
- Click on mail.interchange.ubc.ca in the folder list on the left side of the window.
- Click on the down arrow on the right of Send/Receive.
- Click on Receive All to retrieve your e-mails.
- A popup window will inform you that junk/phishing emails have been moved to the Junk E-mail folder.
- Click Close to continue.
- Be sure to check your Junk E-mail folder occasionally to ensure that legitimate emails doesn't get filtered out.
- Windows Mail is now set up for use with Netinfo/Interchange using Secure IMAP.
