This document explains how to set up Mail 3.x on a Mac for Netinfo/Interchange using Secure POP (POPS).
- First open the Mail application. The Mail application can be found in your Applications folder or by default in the Dock (the bar at the bottom of your screen).
- If you are presented with a "Welcome to Mail" dialogue box, fill in the settings as follows. If you do not see this dialogue box, click the File menu at the top, then click Add Account.
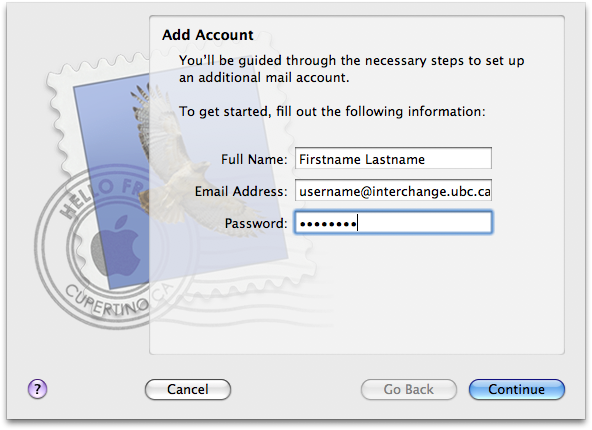
- In the Add Account window, type in the following information:
- Type in your name in the Full Name field.
- Type in your email address in the Email Address field.
- Your email address is username@interchange.ubc.ca where username is your Netinfo/Interchange username.
- Click Continue.
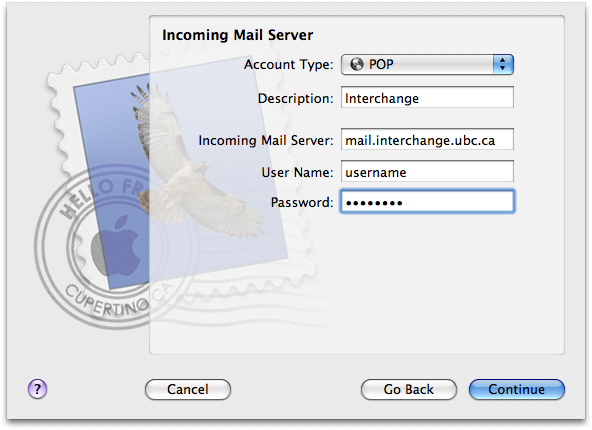
- You will now see an Incoming Mail Server window.
- Set Account Type to POP.
- Type in Interchange in the Account Description field.
- In the Incoming Mail Server box, type: mail.interchange.ubc.ca.
- In the User Name box, enter in your Netinfo/Interchange username.
- Your username is the first part of your email address. If your email address is username@interchange.ubc.ca , then your username is username.
- Type in your Netinfo/Interchange password in the Password field. This is the same as your CWL password.
- Click Continue.
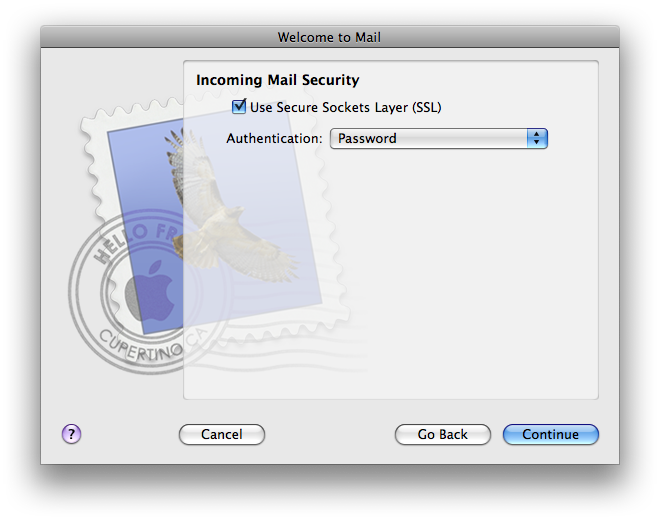
- Next, you will see the Incoming Mail Security window.
- Place a checkmark next to Use Secure Sockets Layer (SSL).
- Set Authentication to Password.
- Click Continue.
- You may not see this screen when using "Welcome to Mail" to add the account.
- The Outgoing Mail Server window will now appear.
- Type in Interchange in the Account Description field.
- In the Outgoing Mail Server box, type: smtp.interchange.ubc.ca.
- Place a checkmark next to Use Authentication.
- In the User Name box, enter in your Netinfo/Interchange username.
- Your username is the first part of your Interchange email address. If your email address is username@interchange.ubc.ca , then your username is username.
- Type in your Netinfo/Interchange password in the Password field. This is the same as your CWL password.
- Click Continue.
-
- Note: At this point, Mac Mail will attempt to verify the information that you provided. Please note that it may take a couple minutes before the connection times out. It won't be able to verify your account information as you are unable to specify any advanced security settings at this point in the setup process. Click Continue to proceed with the account setup. You will be able to specify these options later.

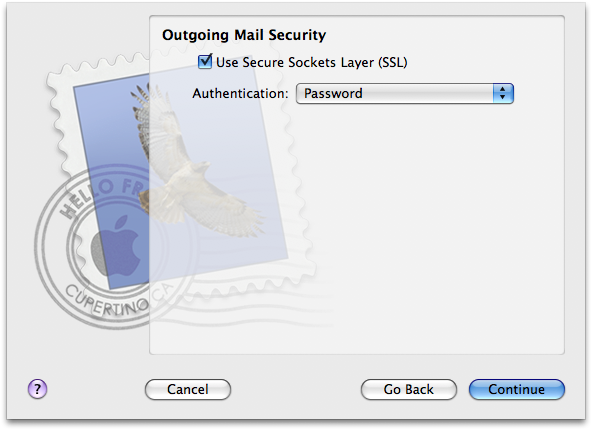
- Next, you will see the Outgoing Mail Security window.
- Place a checkmark next to Use Secure Sockets Layer (SSL).
- Set Authentication to Password.
- Click Continue.
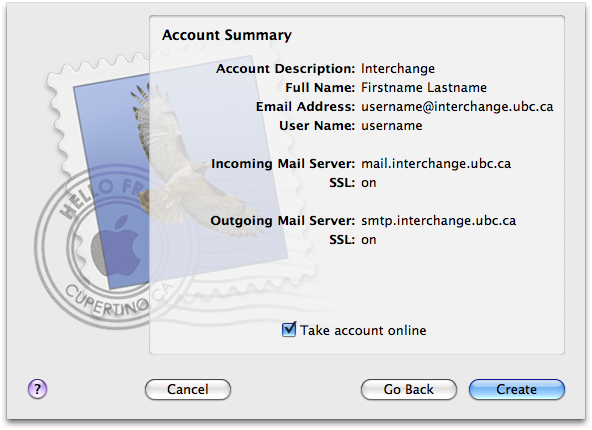
- Review the Account Summary then click Create.
- Ensure that Take account online is checked.
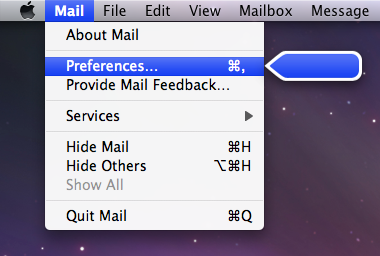
- Click on the Mail menu and select Preferences.
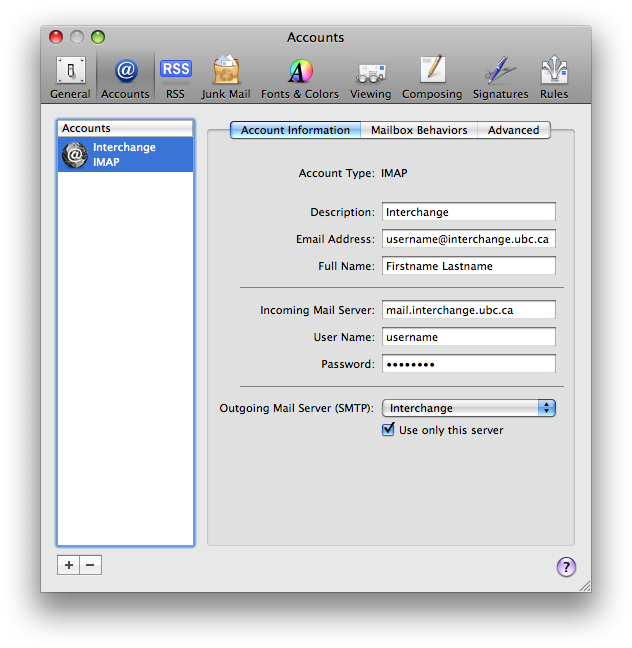
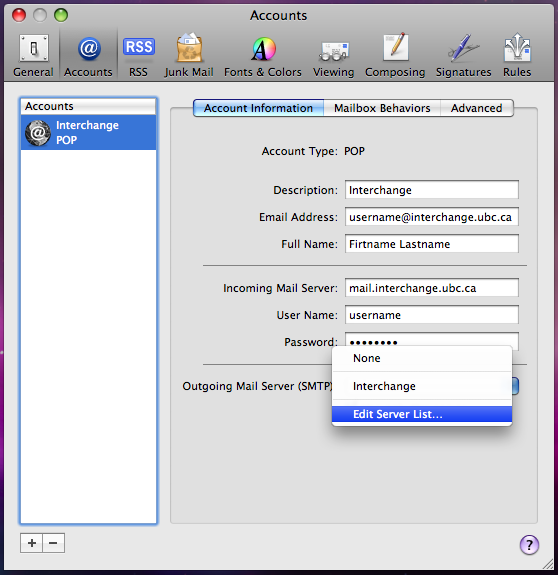
- Select Accounts if it is not already selected. Then under the Accounts window, select the Interchange account you have just created. If you do not see it, click on + button and fill in the following information:
- Account Type should be set to POP.
- Set the Description to the name by which you'd like to refer to this account, for example Interchange.
- Type in your email address in the Email Address field.
- Your email address is username@interchange.ubc.ca where username is your Netinfo/Interchange username.
- Type in your name in the Full Name field.
- In the Incoming Mail Server box, type: mail.interchange.ubc.ca.
- In the User Name box, enter in your Netinfo/Interchange username.
- Your username is the first part of your email address. If your email address is username@interchange.ubc.ca , then your username is username.
- Type in your Netinfo/Interchange password in the Password field. This is the same as your CWL user name.
- To set up the Outgoing Mail Server (SMTP), click on the list and select Edit Server List....
- In the Outgoing Server window, select Advanced:
- Change the Server port to 587.
- Click on the checkbox next to Use Secure Sockets Layer (SSL) to enable it.
- For Authentication , select Password.
- Enter your Netinfo/Interchange username and password for the User Name and Password fields. This is the same as your CWL user name and password.
- Click OK.

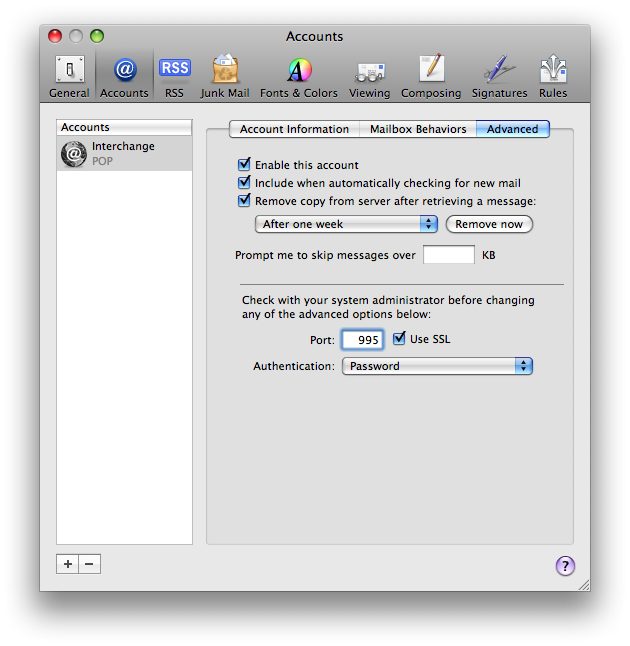
- Click on the Advanced tab.
- Add a checkmark beside Use SSL and it should automatically change the Port to 995.
- Ensure Password is selected from the Authentication pull-down menu.
- Mail is now set up and you may exit from the preferences window by clicking on the red circle on the top left hand corner of the Accounts window.
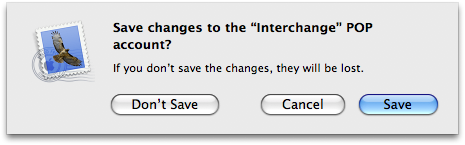
- You may be asked to save your settings in a prompt as shown below. Click on Save.
- Mail is now set up for use on the Netinfo/Interchange service.
