This document explains how to set up a new e-mail profile for Outlook 2007 using Auto-Discovery.
- Click the Start button and then select Control Panel. On some systems, the Control Panel link is located within the Settings menu.
- Locate the Mail icon in the Control Panel window.
- If you do not see this icon, select Classic View or the Switch to Classic View link, located on the left-hand side of the Control Panel window, and look for the icon again.
- Double-click the Mail icon and the following window will open:
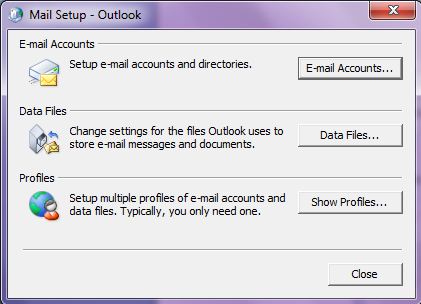
- Select the Show Profiles... button
- Select Prompt for a profile to be used and click Apply
- Select Prompt for a profile to be used and click Apply
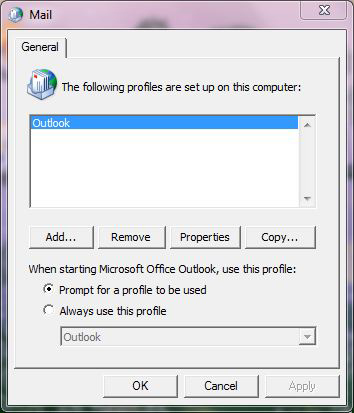
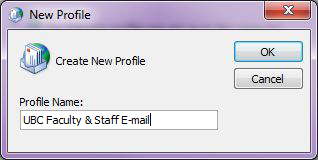
- Click Add... then enter your new profile name in the Create New Profile window (as below), click OK.
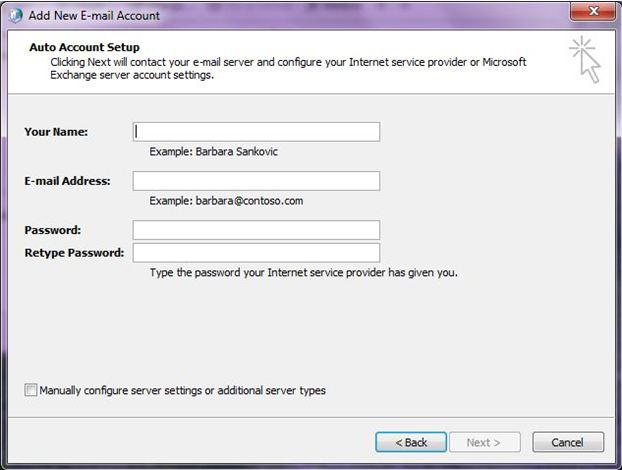
- The following window will open. Fill out the Auto Account Setup form:
- Type your full name in the Your Name field.
- Type your e-mail address in the E-Mail Address field (e.g. username@mail.ubc.ca)
- Type in your password in the Password field, and then retype it again in the next field.
- Click Next
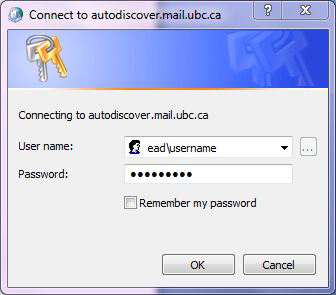
- The setup will attempt to retrieve the correct server settings for your account. If this login box appears:
- Type in your User name: ead\username
-
- username is the first part of your email address: username@mail.ubc.ca
- For Password, type in your e-mail password.
- Click OK
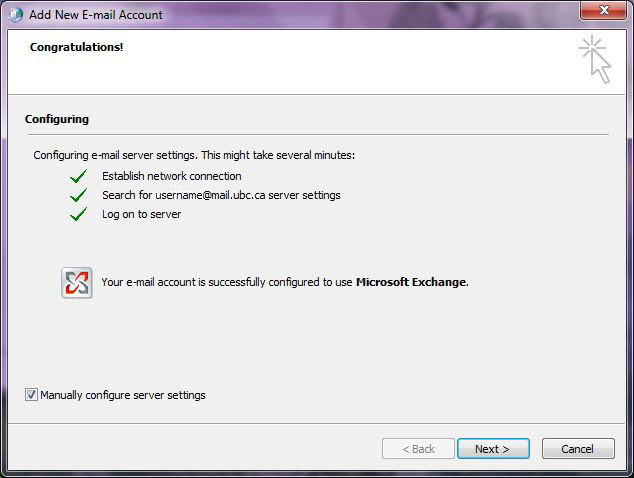
- You should receive a message stating that your e-mail account is successfully configured. You may have to wait up to a minute for this process to complete.
- Place a checkmark next to Manually configure server settings and click Next.
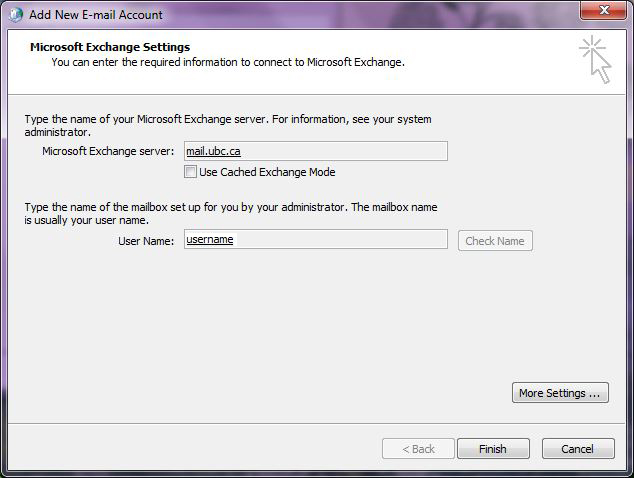
- On the Microsoft Exchange Settings page:
- De-select Use Cached Exchange Mode.
- Click More Settings...
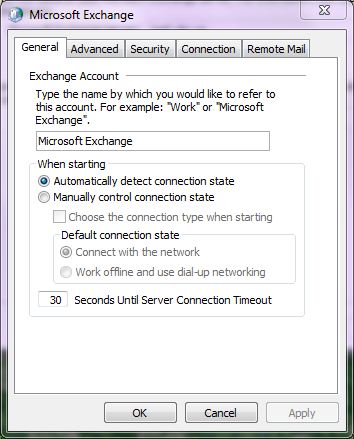
- The following page will appear:
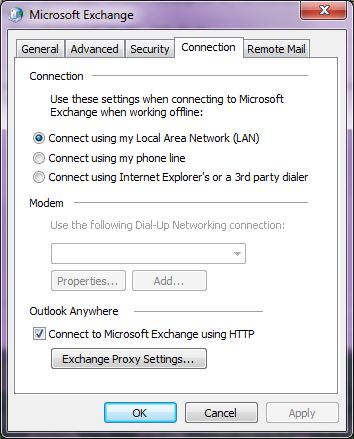
- Click on the Connection tab.
- Click the button labelled Exchange Proxy Settings...
- This window will open with all fields auto-populated except one. Place a checkmark next to On fast networks, connect using HTTP first, and then connect using TCP/IP and ensure all boxes are checked.
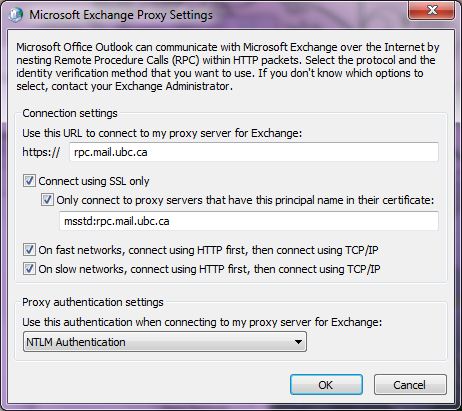
- Click OK twice. This should take you back to the Microsoft Exchange Settings screen (refer to step 9 for image).
- Click Finish.
- You may receive a message stating that, by adding a new account, you have changed where some of your new e-mail messages and calendar information is saved. If you receive this message, simply click OK.
- If you see the E-mail Accounts screen, click Close, and click Close again.
- Open Outlook 2007
- If you are presented with a choose profile window, use the down arrow and select your new profile name and click OK.
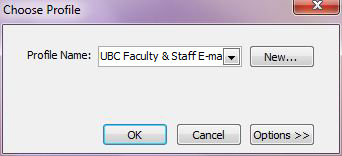
- You may be prompted for your password. If so, type in your email password (as in step 7) and click OK.
- You should now be able to access your email using Outlook 2007.
