In FASmail, contacts do not appear in the default Global Address List. Instead, contacts will appear in a separate address list called "All External Contacts", which is specific for external contacts only. When composing an email or creating a meeting invite which includes an external contact for the first time, the contact must be chosen from the “All External Contacts” address list. The following steps outline how to select a contact from the “All External Contacts” address list for first time use in Outlook.
Please Note: The following document assumes that the External Contact already exists in the FASmail Global Address List. If the contact doesn't exist then it cannot be added to a mailing list in FASmail. Please work with your local IT staff or designated FASmail contact for your department to arrange for an external contact if one is required.
Outlook 2010
- Sending an email to an External Contact in Outlook 2010
- Adding an External Contact to a Meeting Appointment in Outlook 2010
- Adding an External Contact to a Mailing List in Outlook 2010
Outlook Web App (OWA)
- Sending an email to an External Contact in OWA
- Adding an External Contact to a Meeting Appointment in OWA
- Adding an External Contact to a Mailing List in OWA
FASmail Quick Email Address Lookup Feature (Outlook & OWA)
Sending an email to an External Contact in Outlook
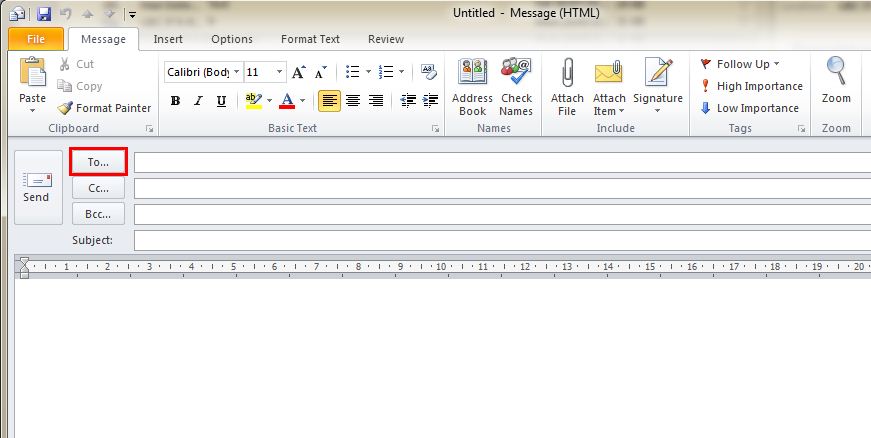
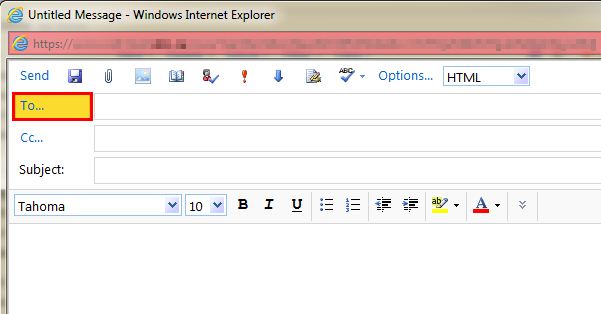
- Compose a new email, and select the Address Book by either clicking on the “To” button or clicking on the Address Book button.
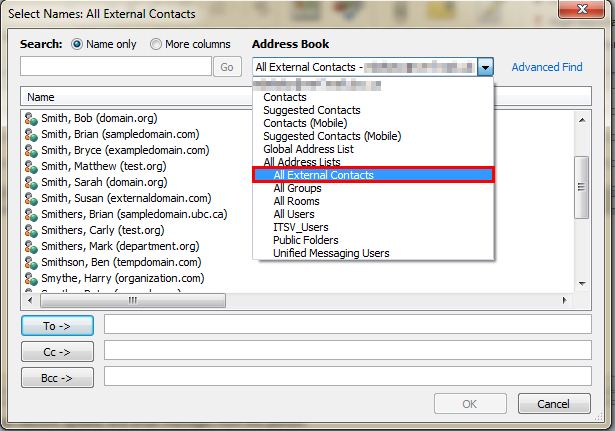
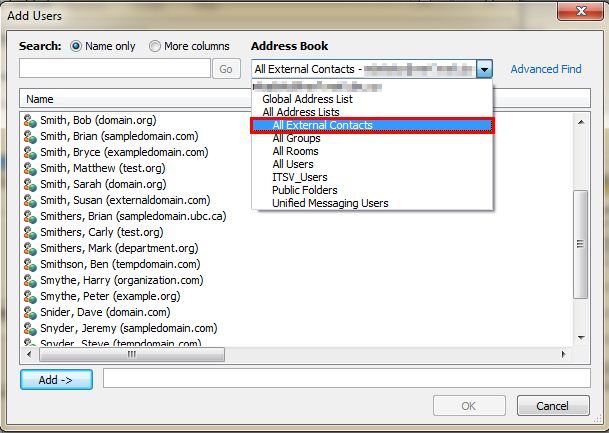
- In the Address Book drop down list, select “All External Contacts”.
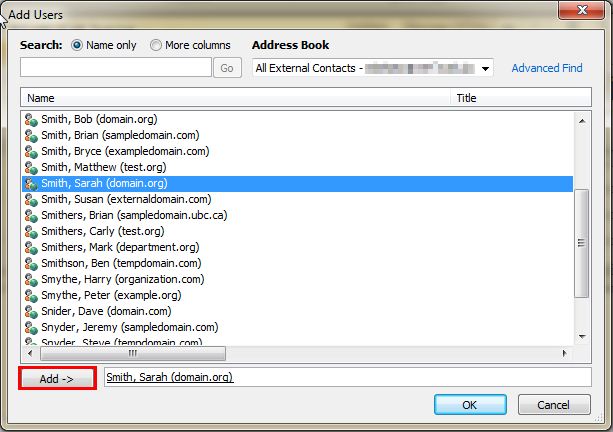
- Double-click on the contact you would like to send an email to. This will automatically populate the “To” field. If you would like to Cc or Bcc the contact, highlight the contact and click the appropriate Cc or Bcc button.
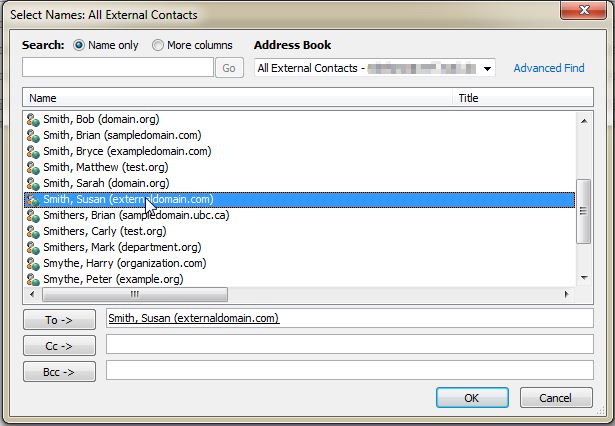
- Click "OK" and the contact will now appear in the To: field of your email message.
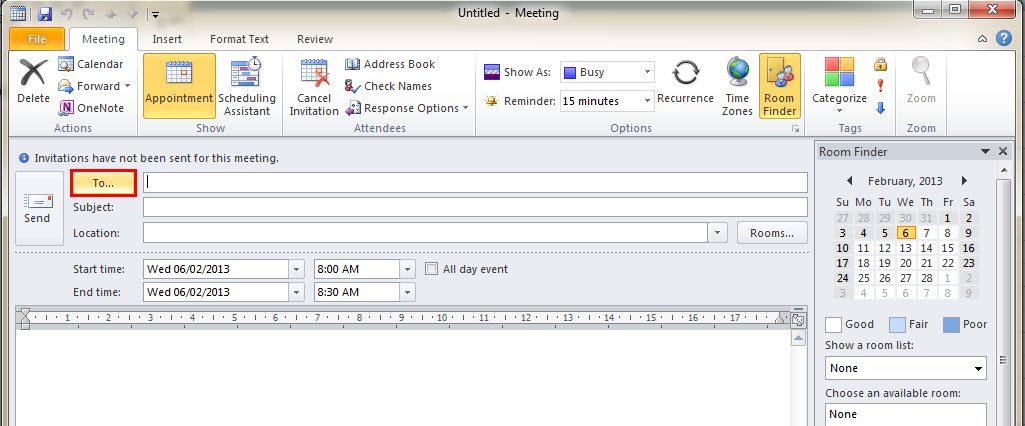
Adding an External Contact to a Meeting Appointment in Outlook 2010
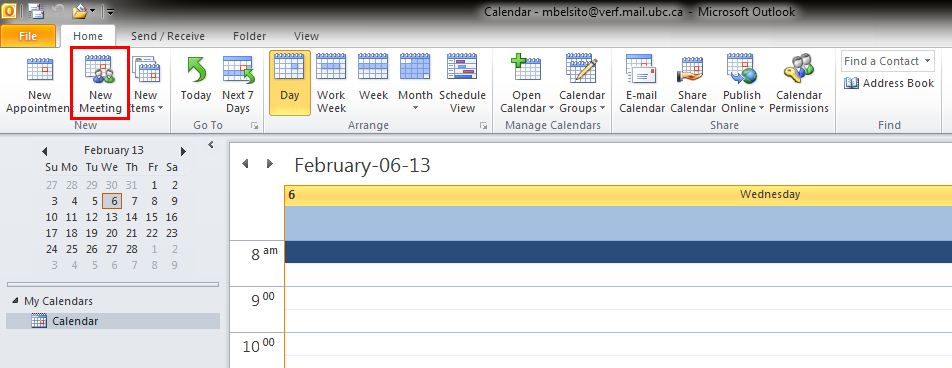
- To begin, click on the "Calendar" section to access your calendar.
- To create a new Meeting request, click on the "New Meeting" button.
- Select the Address Book by either clicking on the “To” button or clicking on the Address Book button.
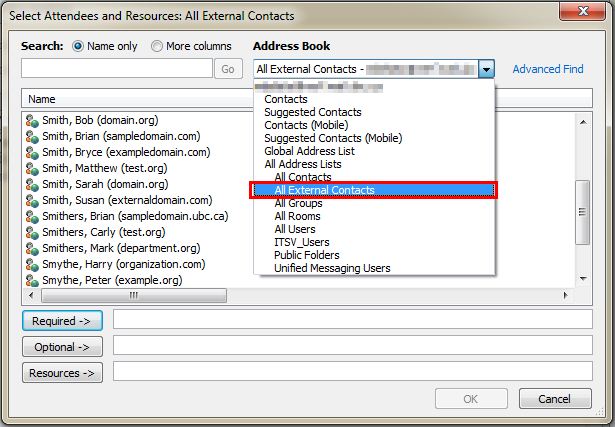
- In the Address Book drop down list, select “All External Contacts”.
- Double-click on the contact you would like to send a meeting invite to. This will automatically populate the “Required” field. If you would like to add the contact as an optional attendee, highlight the contact and click the “Optional” button.
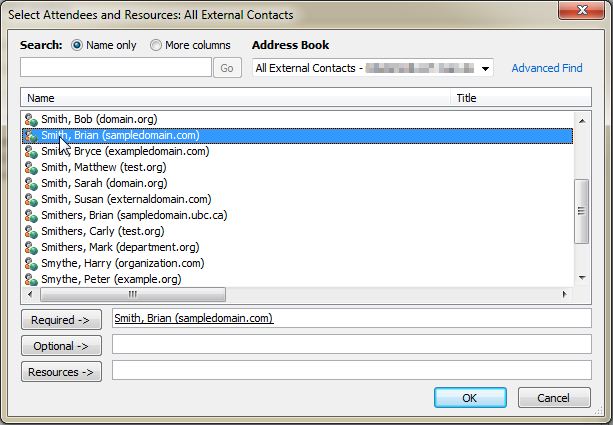
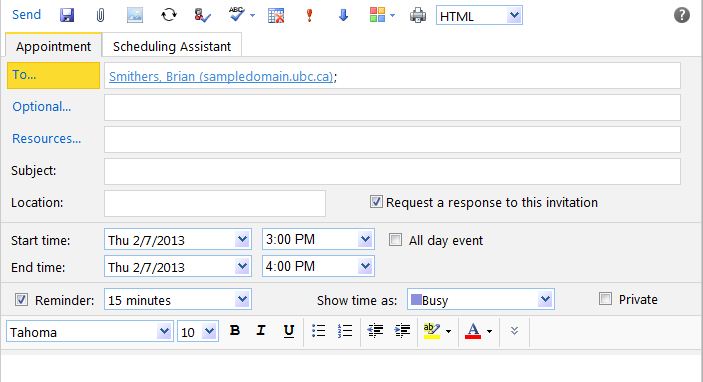
- Click "OK" and the contact will now appear in the To: field of your meeting invite message.
Adding an External Contact to a Mailing List in Outlook 2010
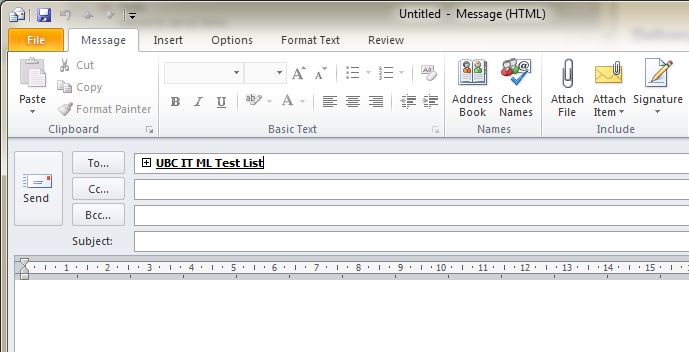
- Compose a new email, and select the Address Book by either clicking on the “To” button or clicking on the Address Book button.
- Select the Mailing List that you wish to modify. Please note that you must be the mailing list owner to make modifications to the list.
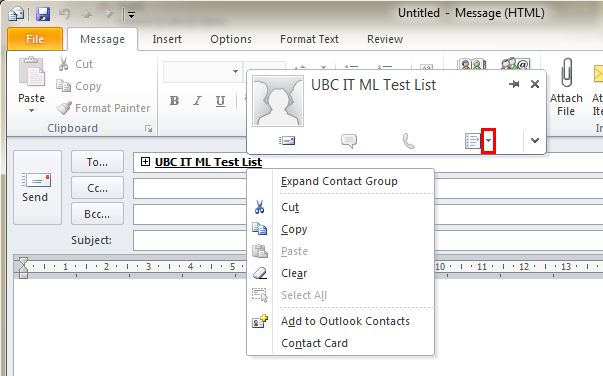
- Right-click on the Mailing List name and click on the down arrow next to the contact card as seen in the screenshot below.
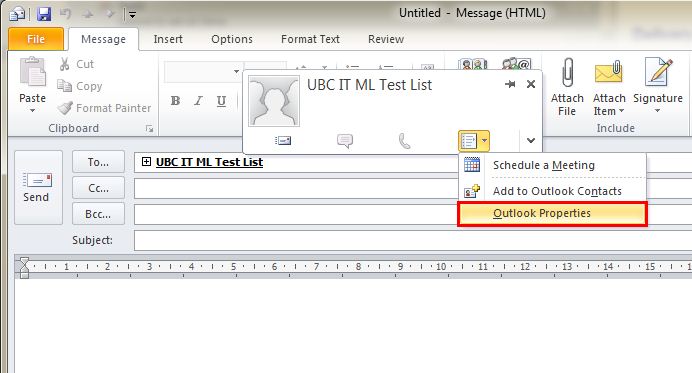
- Select "Outlook Properties" from the drop down menu.
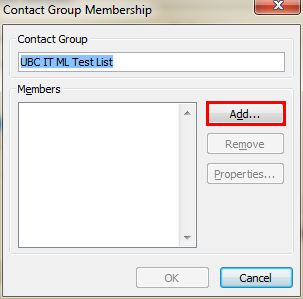
- Click on the "Modify Members" button.

- Click the "Add" button to add a new member.
- In the Address Book drop down list, select “All External Contacts”.
- Highlight the External Contact(s) that you wish to add to the mailing list and click the "Add" button.
- Click "OK". This will take you back to the Group Membership page listing all of the mailing list members.
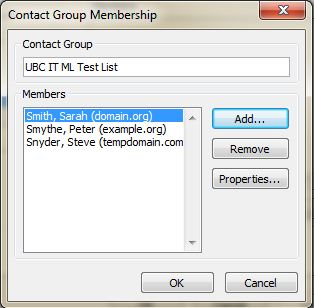
- Click "OK" to accept the changes to the list. Please note that you must be the owner of the mailing list to be able to make changes to its membership.
- You can now email the list which will include the newly added external contact(s).
Sending an email to an External Contact in OWA
- Compose a new email, and select the Address Book by either clicking on the “To” button or clicking on the Address Book button.
- On the left hand pane in the Address Book, click on “Show other address lists”
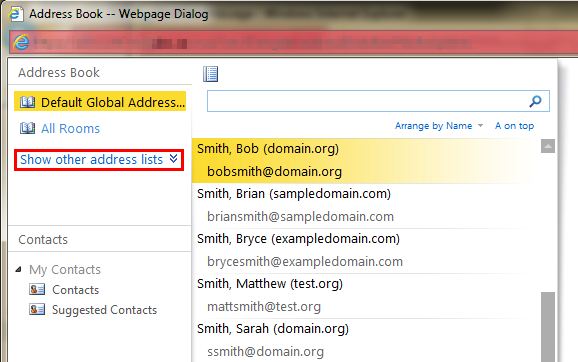
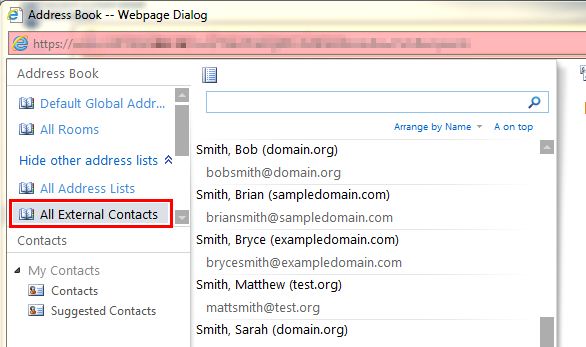
- This will expand a list of additional address lists. Scroll to “All External Contacts” and click on it.
- In the middle pane, double-click on the contact you would like to send an email to. This will automatically populate the “To” field. If you would like to Cc or Bcc a contact, highlight the name on the list and then click on the Cc or the Bcc button and it will populate the contact into the correct field.
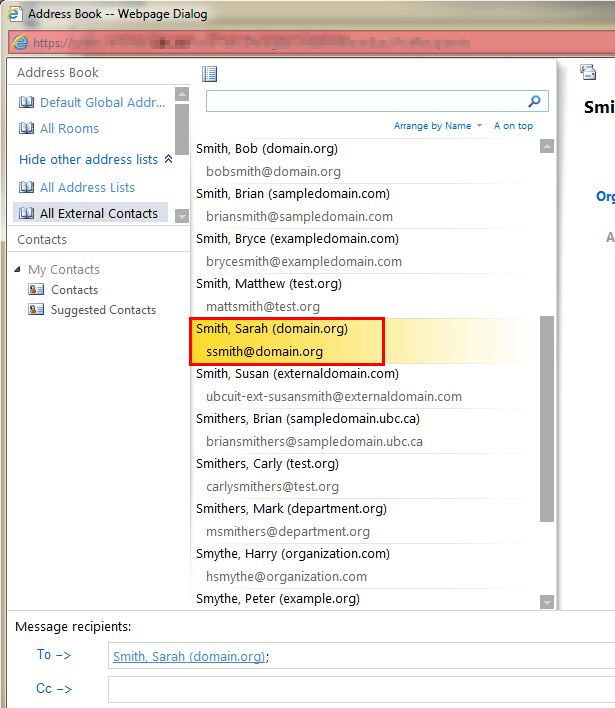
- Click "OK" and the contact will now appear in the To: field of your email message.
Adding an External Contact to a Meeting Appointment in OWA
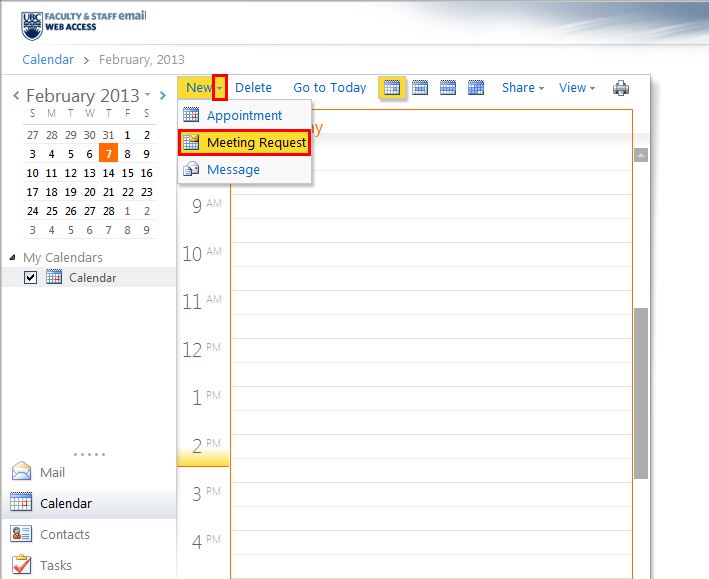
- To begin, click on the "Calendar" section to access your calendar.
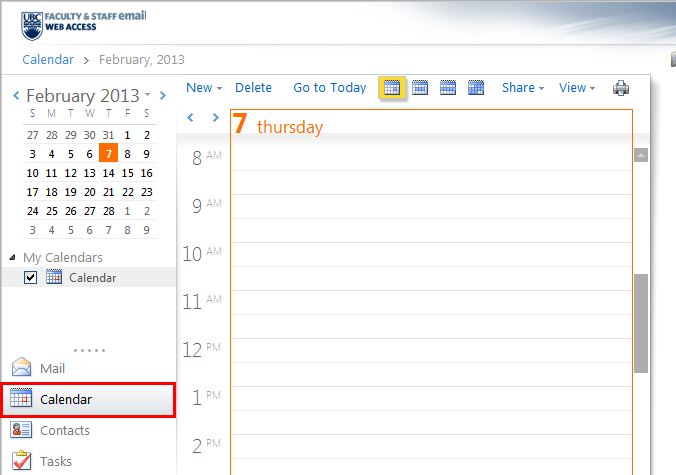
- To create a new Meeting request, click on the down arrow next to "New" and select "Meeting Request".
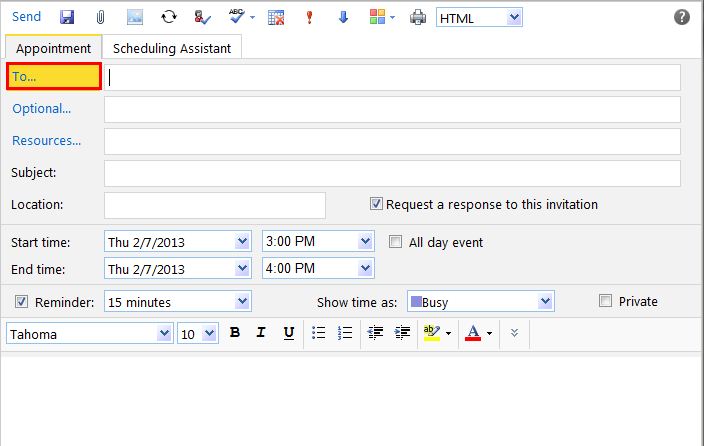
- Select the Address Book by either clicking on the “To” button or clicking on the "Address Book" button.
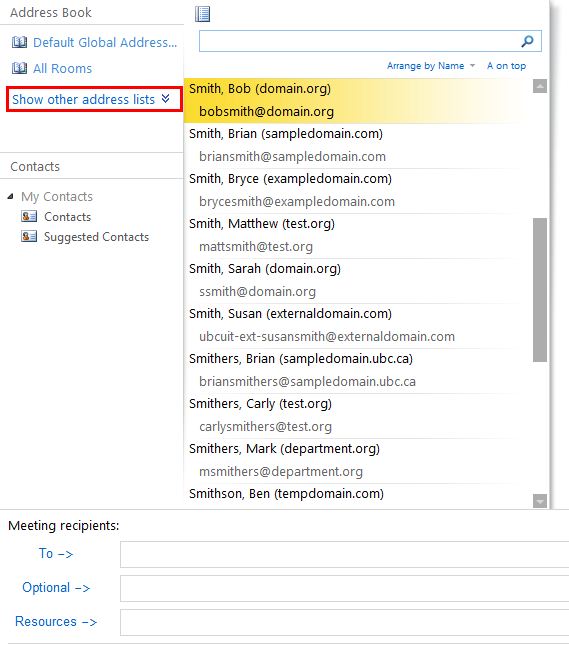
- On the left hand pane in the Address Book, click on “Show other address lists”
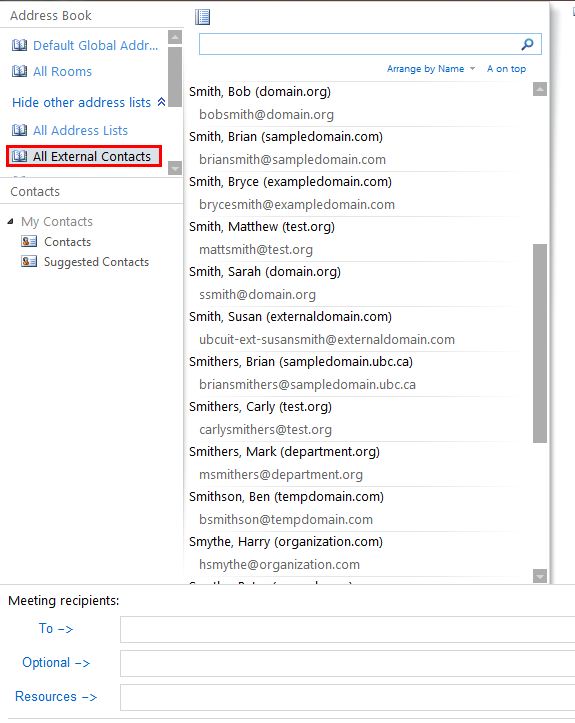
- This will expand a list of additional address lists. Scroll to “All External Contacts” and click on it.
- Double click on the contact you would like to send a meeting invite to. This will automatically populate the “To” field. If you would like to add the contact as an optional attendee, highlight the contact and double click on the “Optional” field.
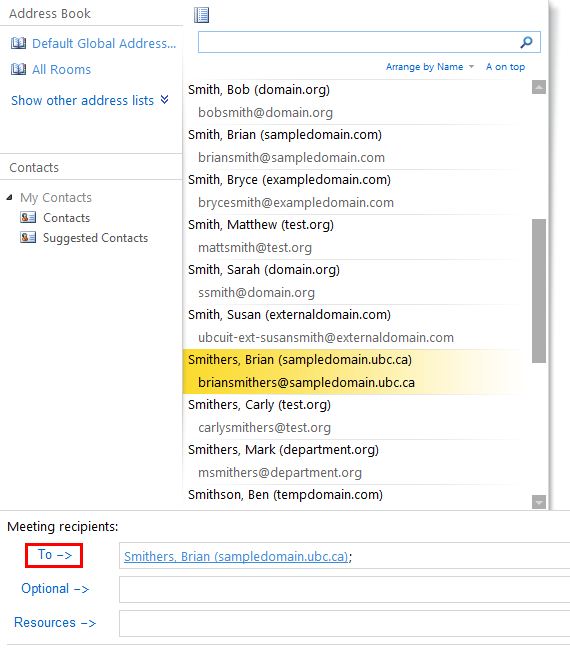
- Click "OK" and the contact will now appear in the To: field of your meeting invite message.
Adding an External Contact to a Mailing List in OWA
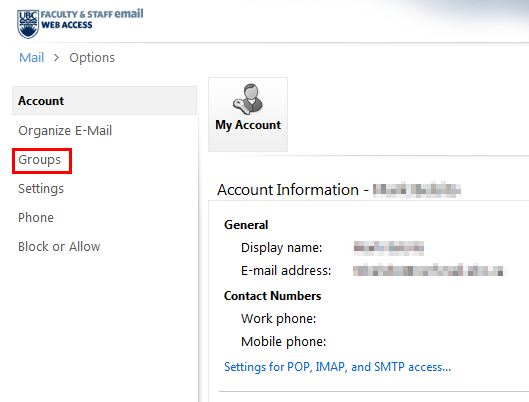
- To manage a mailing list in the Outlook Web App, go to the "Options" drop down menu and select "See All Options..."

- Click on the "Groups" section on the left side bar.
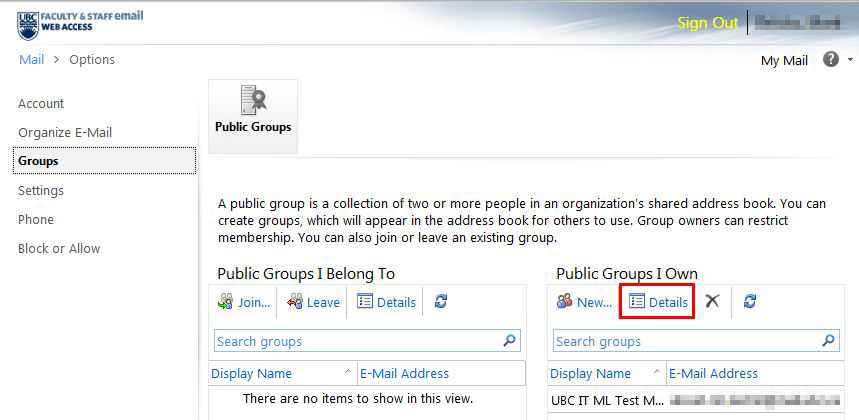
- This page will show you which lists you are on (left side) and which lists that you maintain/own (right side.) Select the Mailing List that you wish to modify on the right side and click "Details". Please note that you must be the mailing list owner to make modifications to the list.
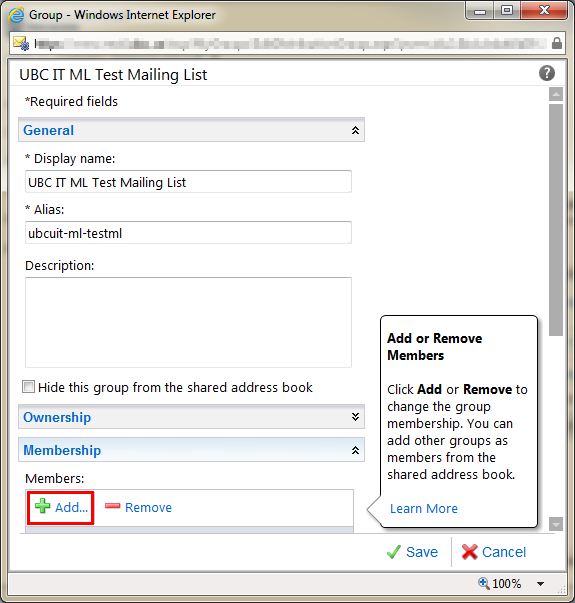
- Click on "Membership" to expand this section.

- Click the "Add" button to add a contact.
- Type in the name of the person that you want to add to the mailing list and press <Enter> to search for it. You do not need to go to a separate address list to view External Contacts. The search option will find it whether or not it is a contact.
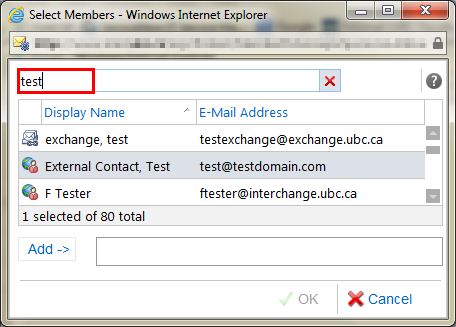
- Highlight the External Contact(s) that you wish to add to the mailing list and click the "Add" button.
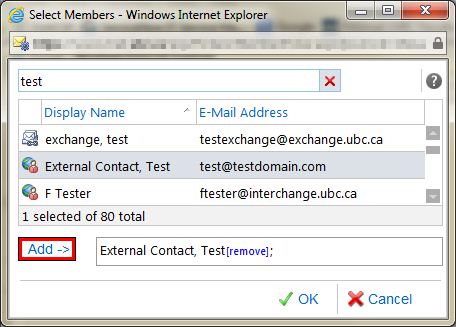
- Click "OK". This will take you back to the Group Membership page listing all of the mailing list members.
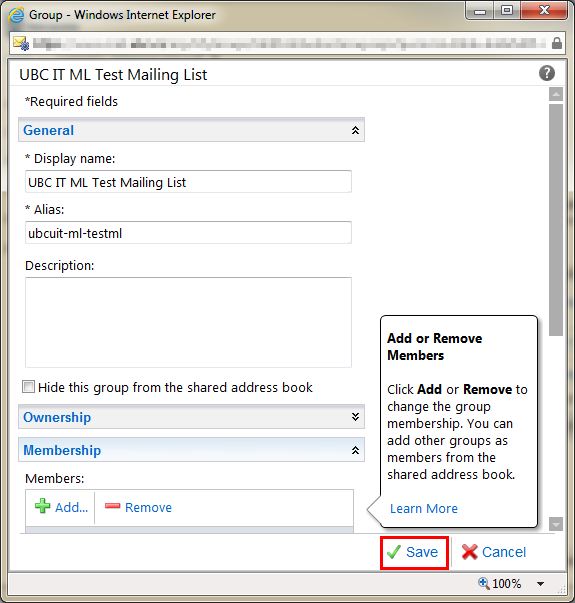
- Click "Save" to accept the changes to the list. Please note that you must be the owner of the mailing list to be able to make changes to its membership.
- You can now email the list which will include the newly added external contact(s).
Outlook Autocomplete Cache
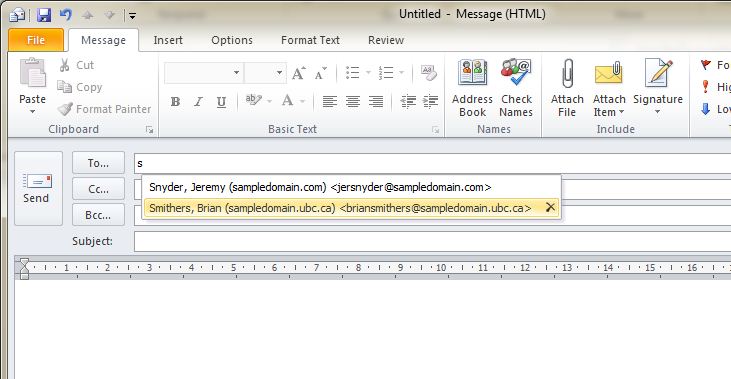
The autocomplete list is a personal cache of names and email addresses that you have used to send emails and meeting invites to. Therefore, it is necessary to do the above steps only once, since autocomplete can pre-populate the field for you thereafter. When composing an email or a meeting appointment, the feature displays a list of possible matches based on the letters you have typed. You can then choose the appropriate entry from the list of suggestions. This behavior is consistent in either Outlook or OWA.
- Autocomplete in an email:
- Autocomplete in a meeting invite:

